
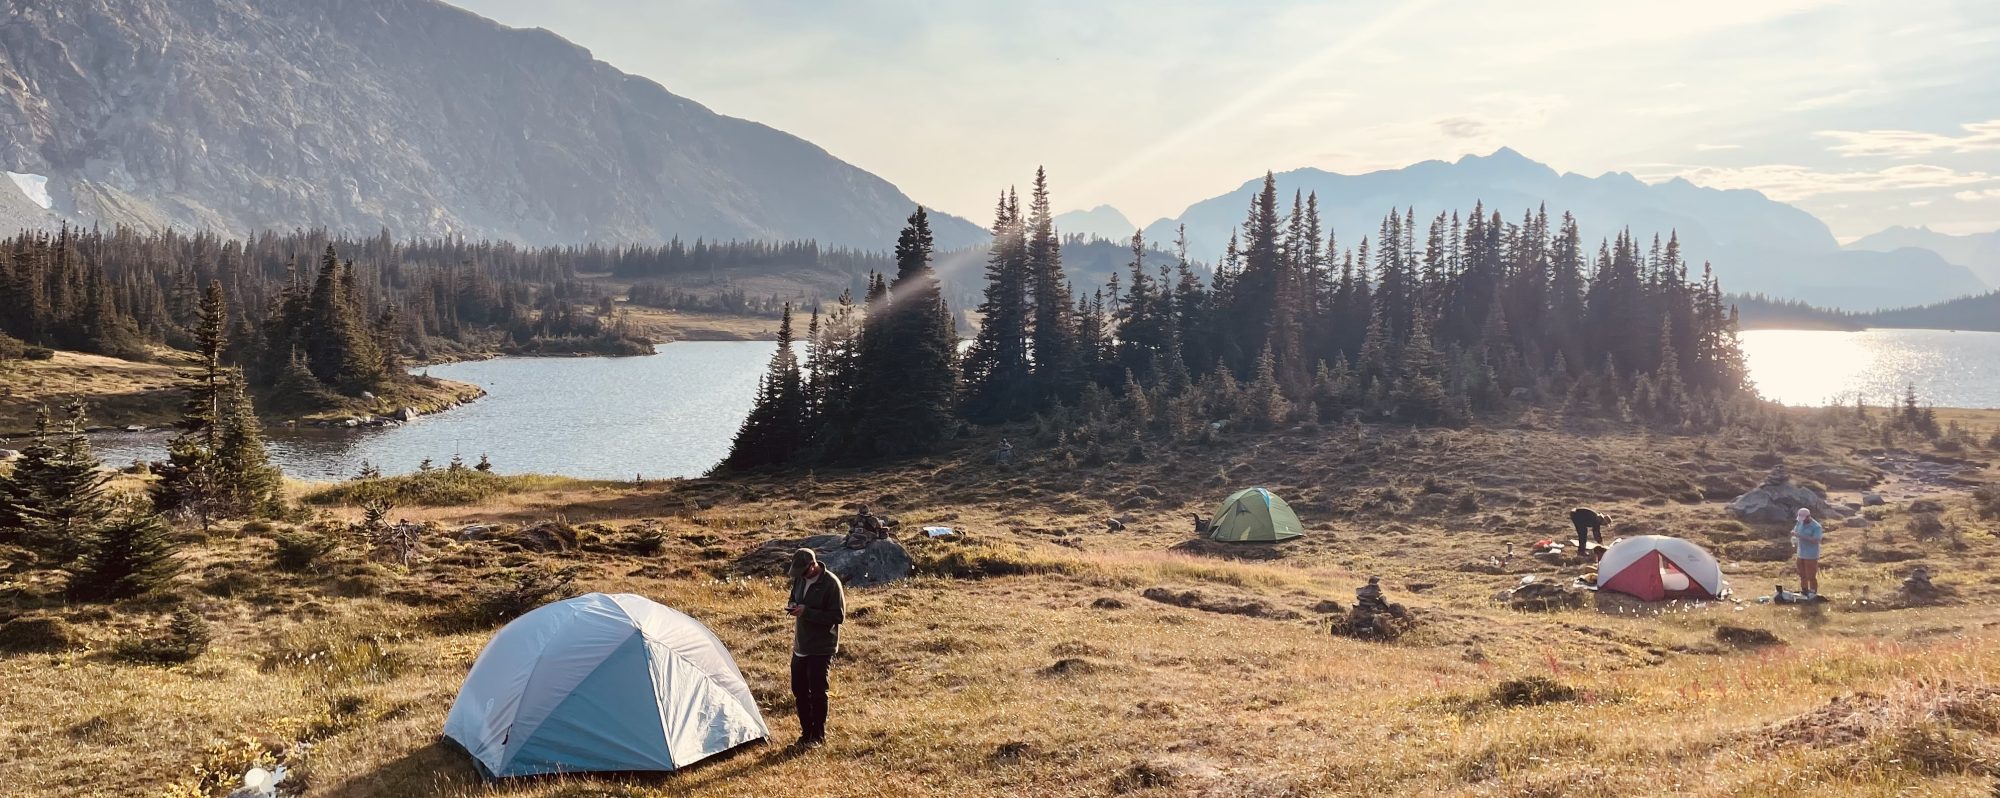
Are you looking for a healthier alternative and more cost effective way to have quick and hearty meals in the backcountry? Look no further! Below is a recipe for a hearty dehydrated chili that is easy to prepare and even easier to rehydrate out on your next adventure. Whether you’re out on an epic multi-day trip, day hiking, or ice fishing, this meal will help you fuel your body for your outdoor adventure.
Chili Recipe
Ingredients
- 1 package of bacon
- 1 tbsp olive oil
- 2 lbs ground meat (beef, turkey, or a mix)
- 1 onion, diced
- 1 jalapeño, diced
- 4–5 cloves garlic, minced
- 3 tbsp chili powder
- 1 tsp cumin
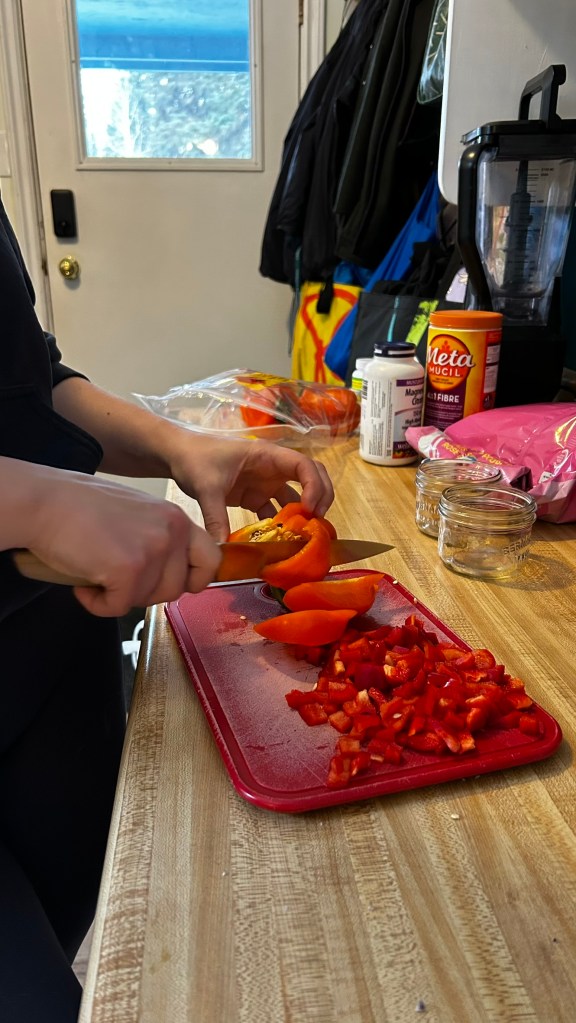
- 1 bell pepper, seeded and diced
- 1 large can crushed tomatoes
- 1 large can diced tomatoes
- 1 large can red kidney beans, drained
- 1 ½ cups broth (any kind: chicken, beef, or veggie)
- 1 cup beer
- 1 tbsp tomato paste
- 1 tbsp brown sugar
- Salt and pepper, to taste
- 1 tbsp BBQ sauce (your favorite)
Cooking Instructions
- Preheat your oven to 400°F (200°C). Line a baking sheet with parchment paper and lay out the bacon. Cook until crispy (15–20 minutes).
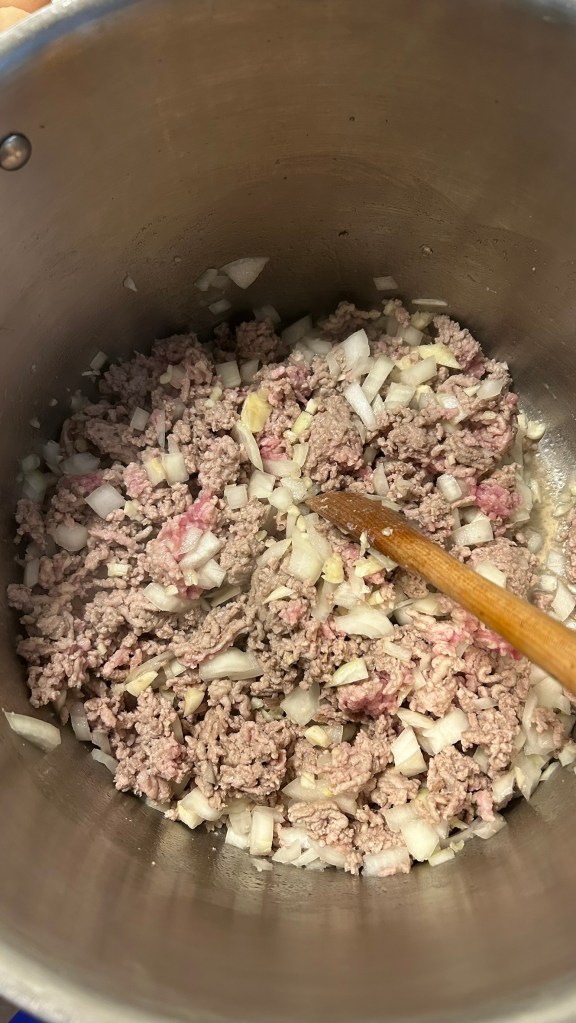
- In a large, heavy-bottomed pot, heat olive oil over medium heat. Add ground meat, onion, jalapeño, and garlic.
- Cook until browned, then strain out excess fat. Important: Removing fat is essential for dehydrating—excess oil can reduce shelf life.
- Add the rest of the ingredients and simmer for at least 30 minutes to allow the chili to thicken and flavors to meld.
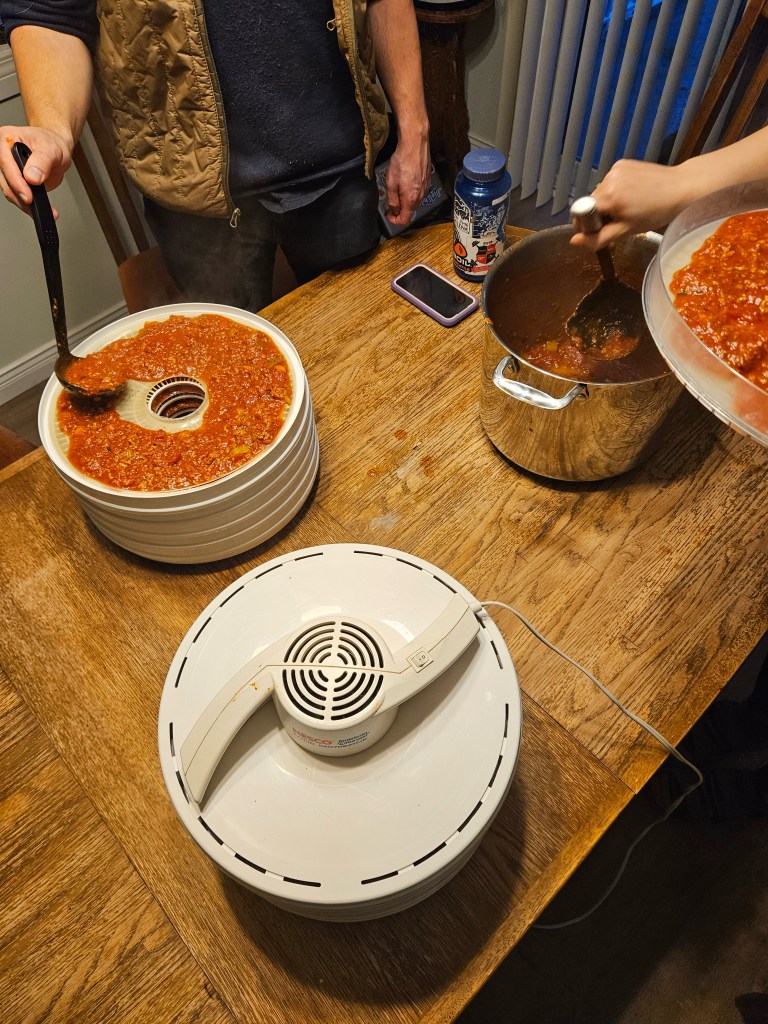
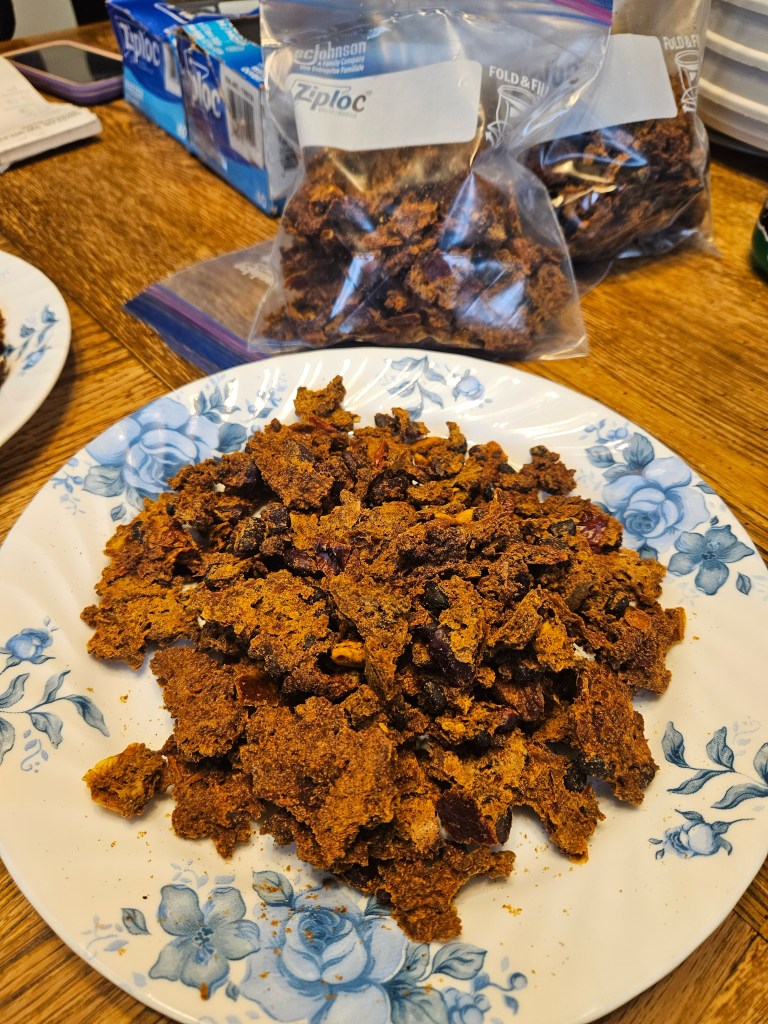
Dehydrating Your Chili
- Prep your dehydrator trays—make sure they’re clean and dry.
- Spread the chilli evenly across the trays.
- Set your dehydrator to the appropriate setting. Our model takes around 32 hours to fully dehydrate chilli, but your time may vary.
- Make sure the chilli is completely dry before removing it.
Weighing & Packaging
This part might sound complicated, but it’s easy with a kitchen scale!
- Remove dehydrated chilli from trays and place in a clean container or zip-top bag.
- Use a scale to divide into individual meal portions. We usually aim for 150–200g per serving. For this recipe, we got about 170g per meal.
- Don’t forget to subtract the weight of your container when calculating your portion sizes.
- Package each portion in a labeled ziplock or vacuum-sealed bag.
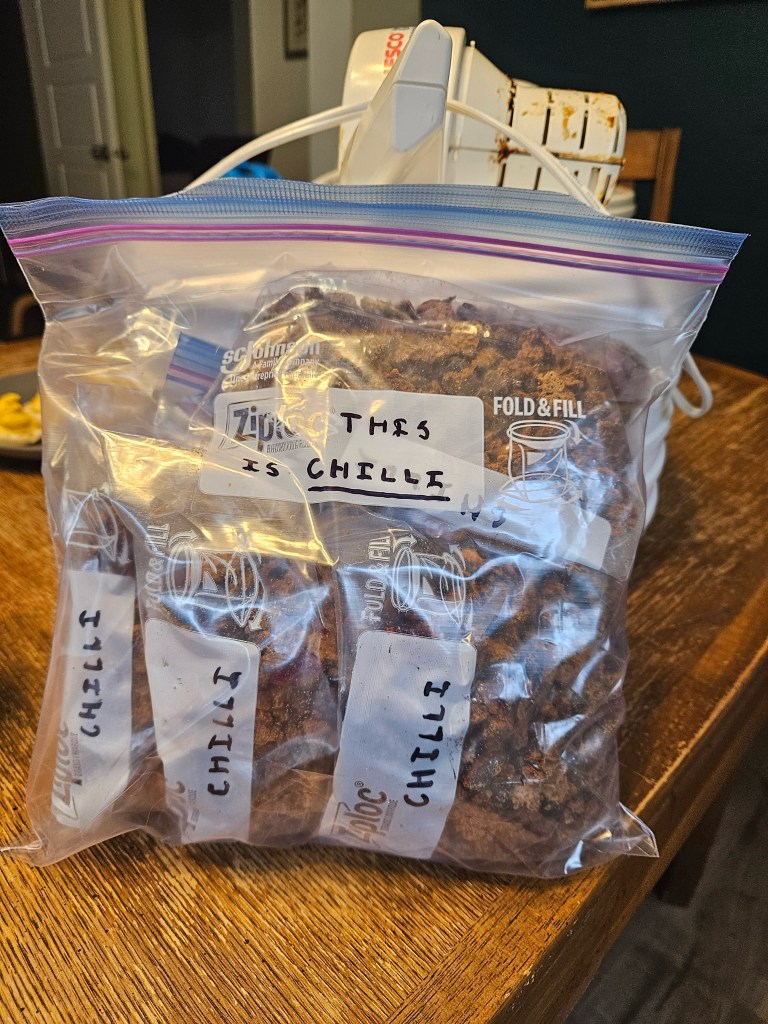
Storage Tips
- Dehydrated meals are shelf-stable for 4 to 12 months.
- We recommend storing them in the freezer to extend freshness even more.
- This method has worked great for us—we haven’t had issues with spoilage yet!
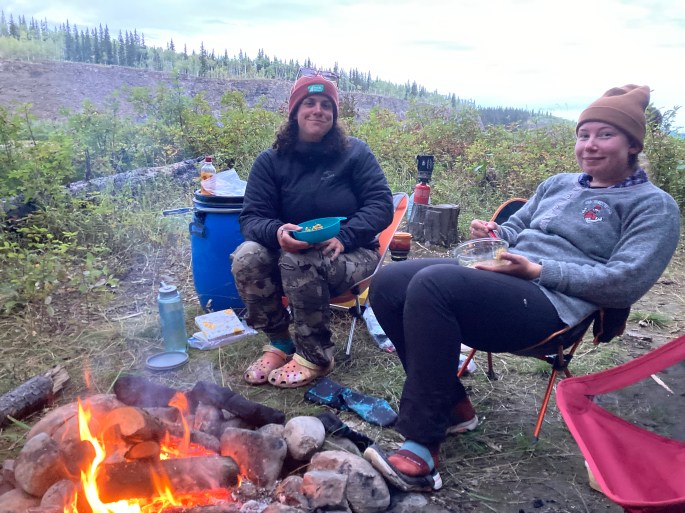
How to Rehydrate in the Backcountry
When you’re ready to eat:
- Place your dehydrated chili in a container that’s safe for hot water (we use glass Snapware or BPA-free plastic).
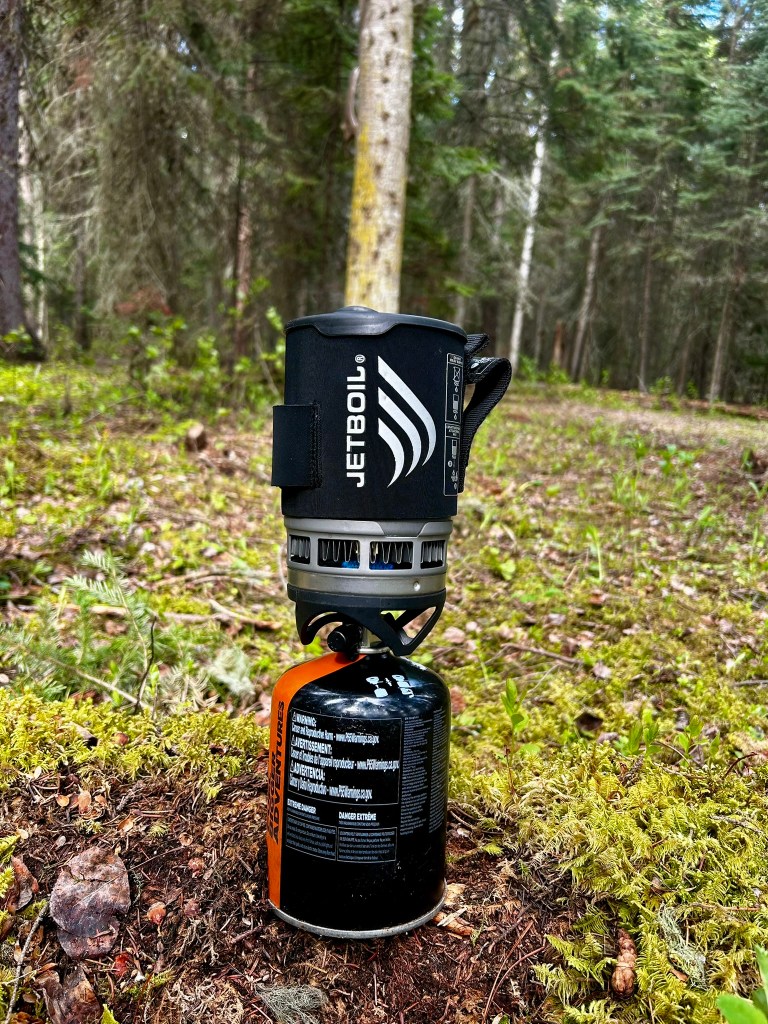
- Boil water (we use a Jetboil) and pour enough over the chili to fully cover it.
- Stir, cover, and let sit for at least 10 minutes.
- Check, stir again, and add a bit more water if needed. Let sit another 5 minutes.
That’s it! Dinner is ready—with minimal effort and gear.
We love that this method helps reduce camp kitchen time. A couple of Jetboils are enough for boiling water for oatmeal, coffee, dinner, and tea. Multi-use gear for the win!
Discover more from
Subscribe to get the latest posts sent to your email.
