
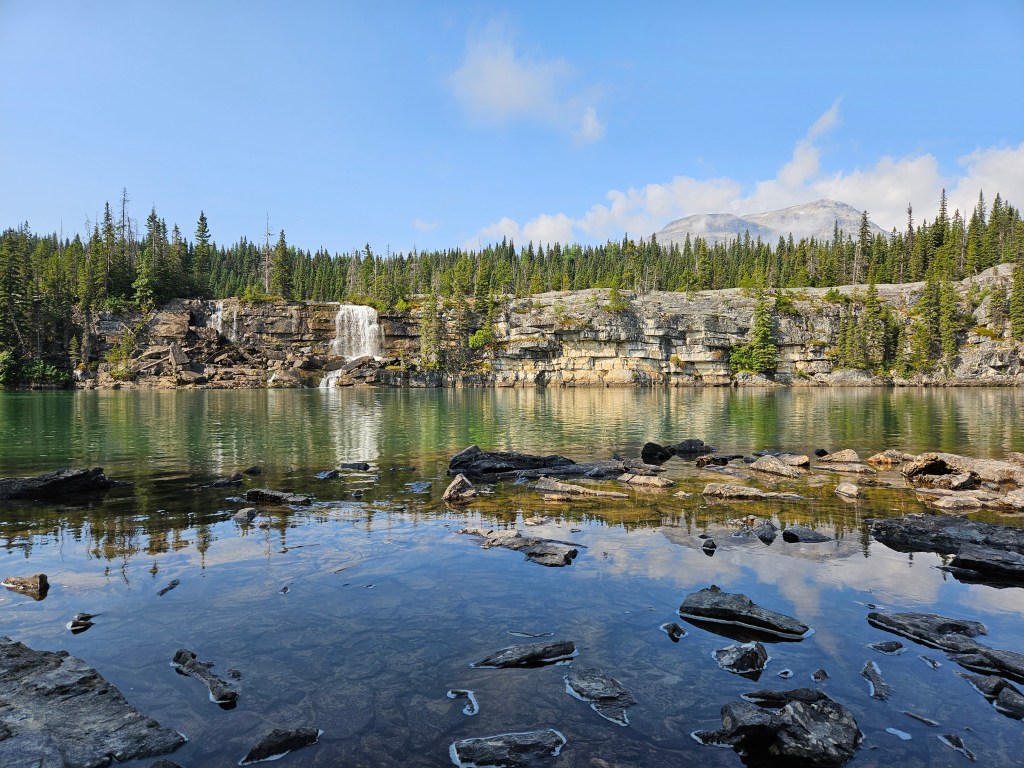
Nestled in Monkman Provincial Park in Northern British Columbia, the Monkman Cascades Trail is a 50 (-ish) km adventure that takes you through the quiet wilderness leading you to a series of stunning waterfalls cascading over rocky cliffs, each more mesmerizing than the last. Along the way, the clear greenish-blue pools invite you to pause, marvel at the untouched beauty of Monkman Creek or even dive in for a swim.
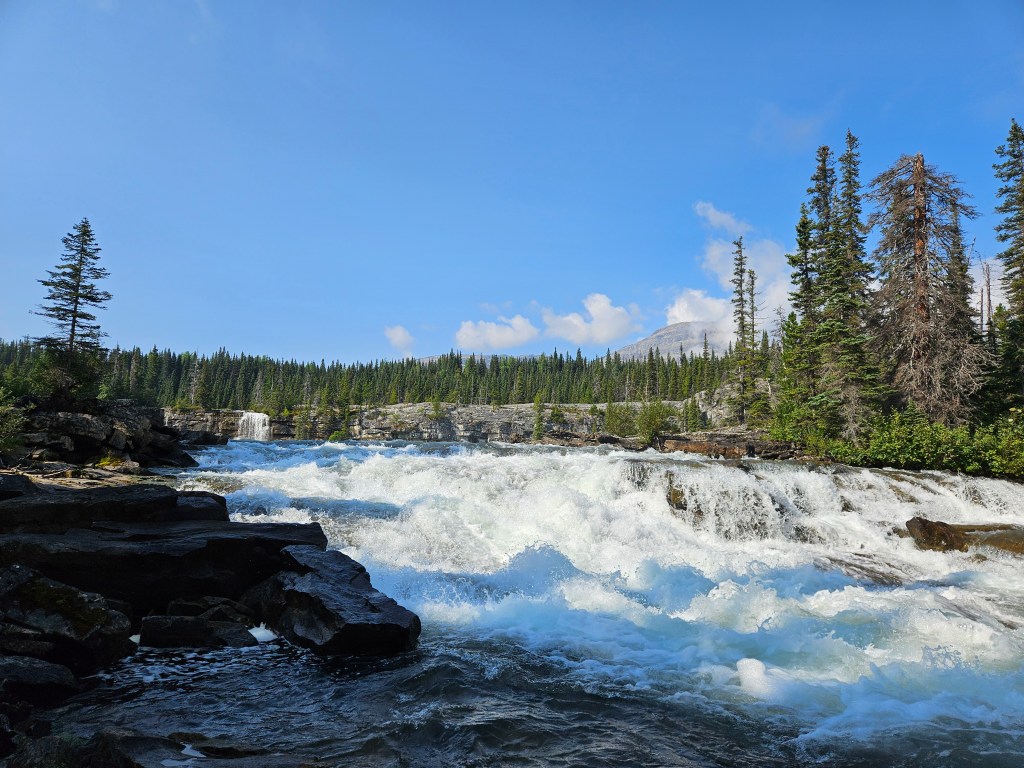
Over the course of 3 to 4 days, you’ll experience ten breathtaking waterfalls, six of which are accessible. The trail offers a mix of flat sections, ascents, descents and a suspension bridge! But the adventure doesn’t have to end there – for those looking for more, the trail continues to Monkman Lake, where you can spot the remnants of ancient glaciers that are a testament to the raw power of nature. If you are an experienced hiker that is up for a challenge, there’s an additional route that climbs into the subalpine beyond Monkman Lake, where it turns into a wilderness route.
Whether you’re looking for a weekend escape or a full-on trek, this trail is one that will leave you captivated at every turn.
Monkman cascades Location & trailhead details
The Monkman Cascades Trail begins and ends at the Monkman Park Campground, located approximately 60 km south of Tumber Ridge, British Columbia. Before or after your hike, be sure to visit the stunning Kinuseo Falls – it’s a sight you won’t want to miss!
If you’re coming from Prince George, plan for about 5.5 hours of driving to reach the trailhead. We opted to leave Prince George the night before and camp at the Heart Lake Campground in Pine Le Moray Provincial Park, which helped us shave off roughly 2.5 hours of driving. This left us with just a 3 hour drive to Monkman Provincial Park the following morning. The drive is mostly on paved roads, with the final 60 km taking you along the Murray FSR, which is wide, well-maintained, and frequently traveled.
Hike breakdown
Trailhead to Murray River Camp (0 to 7 km)
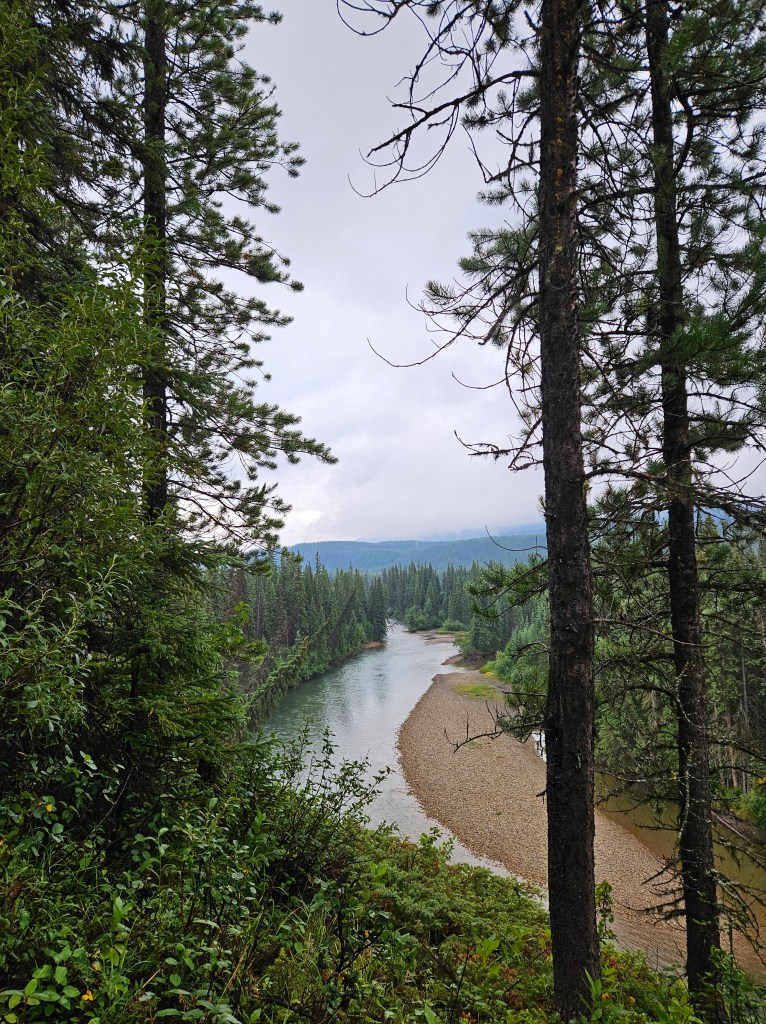
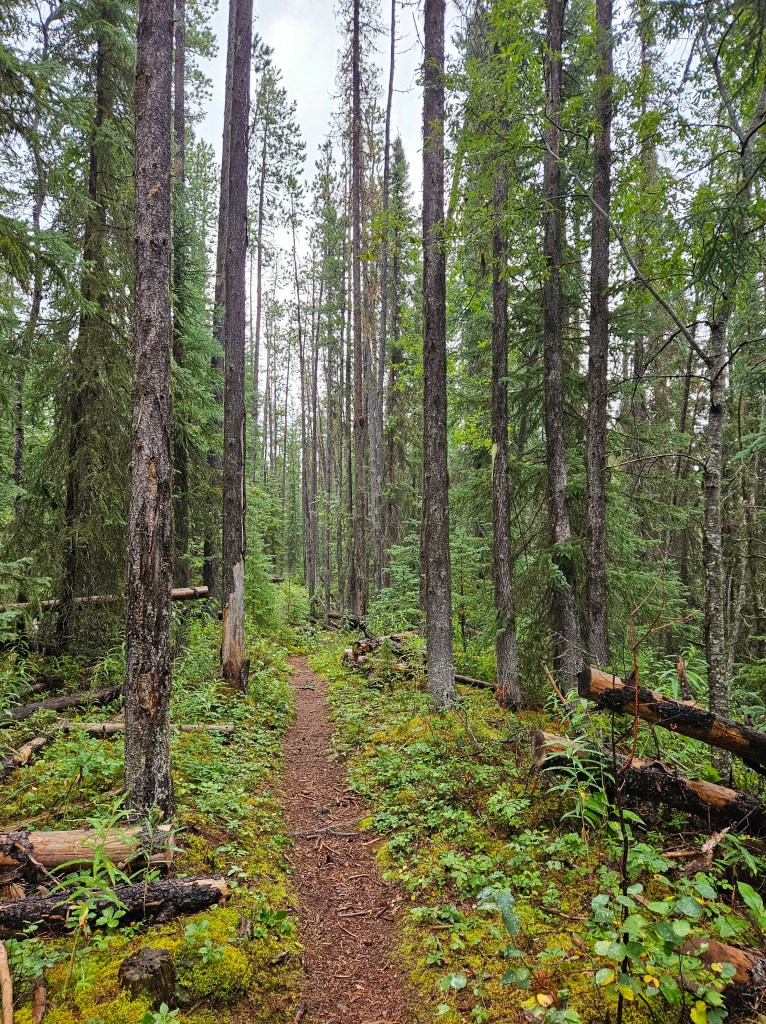
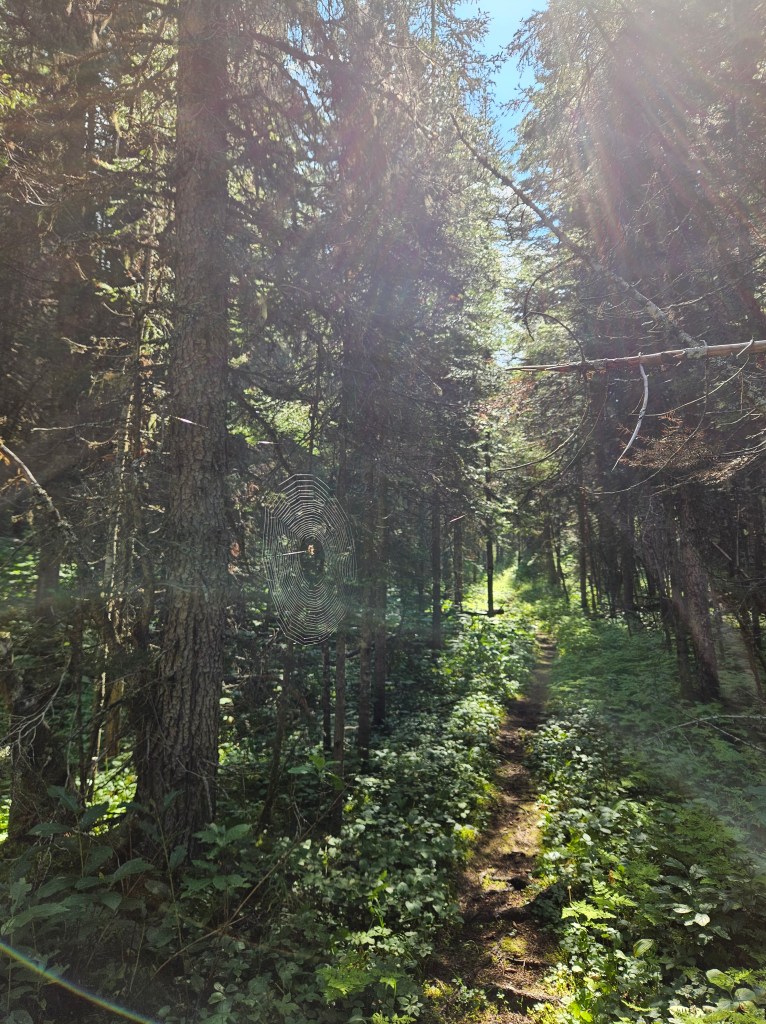
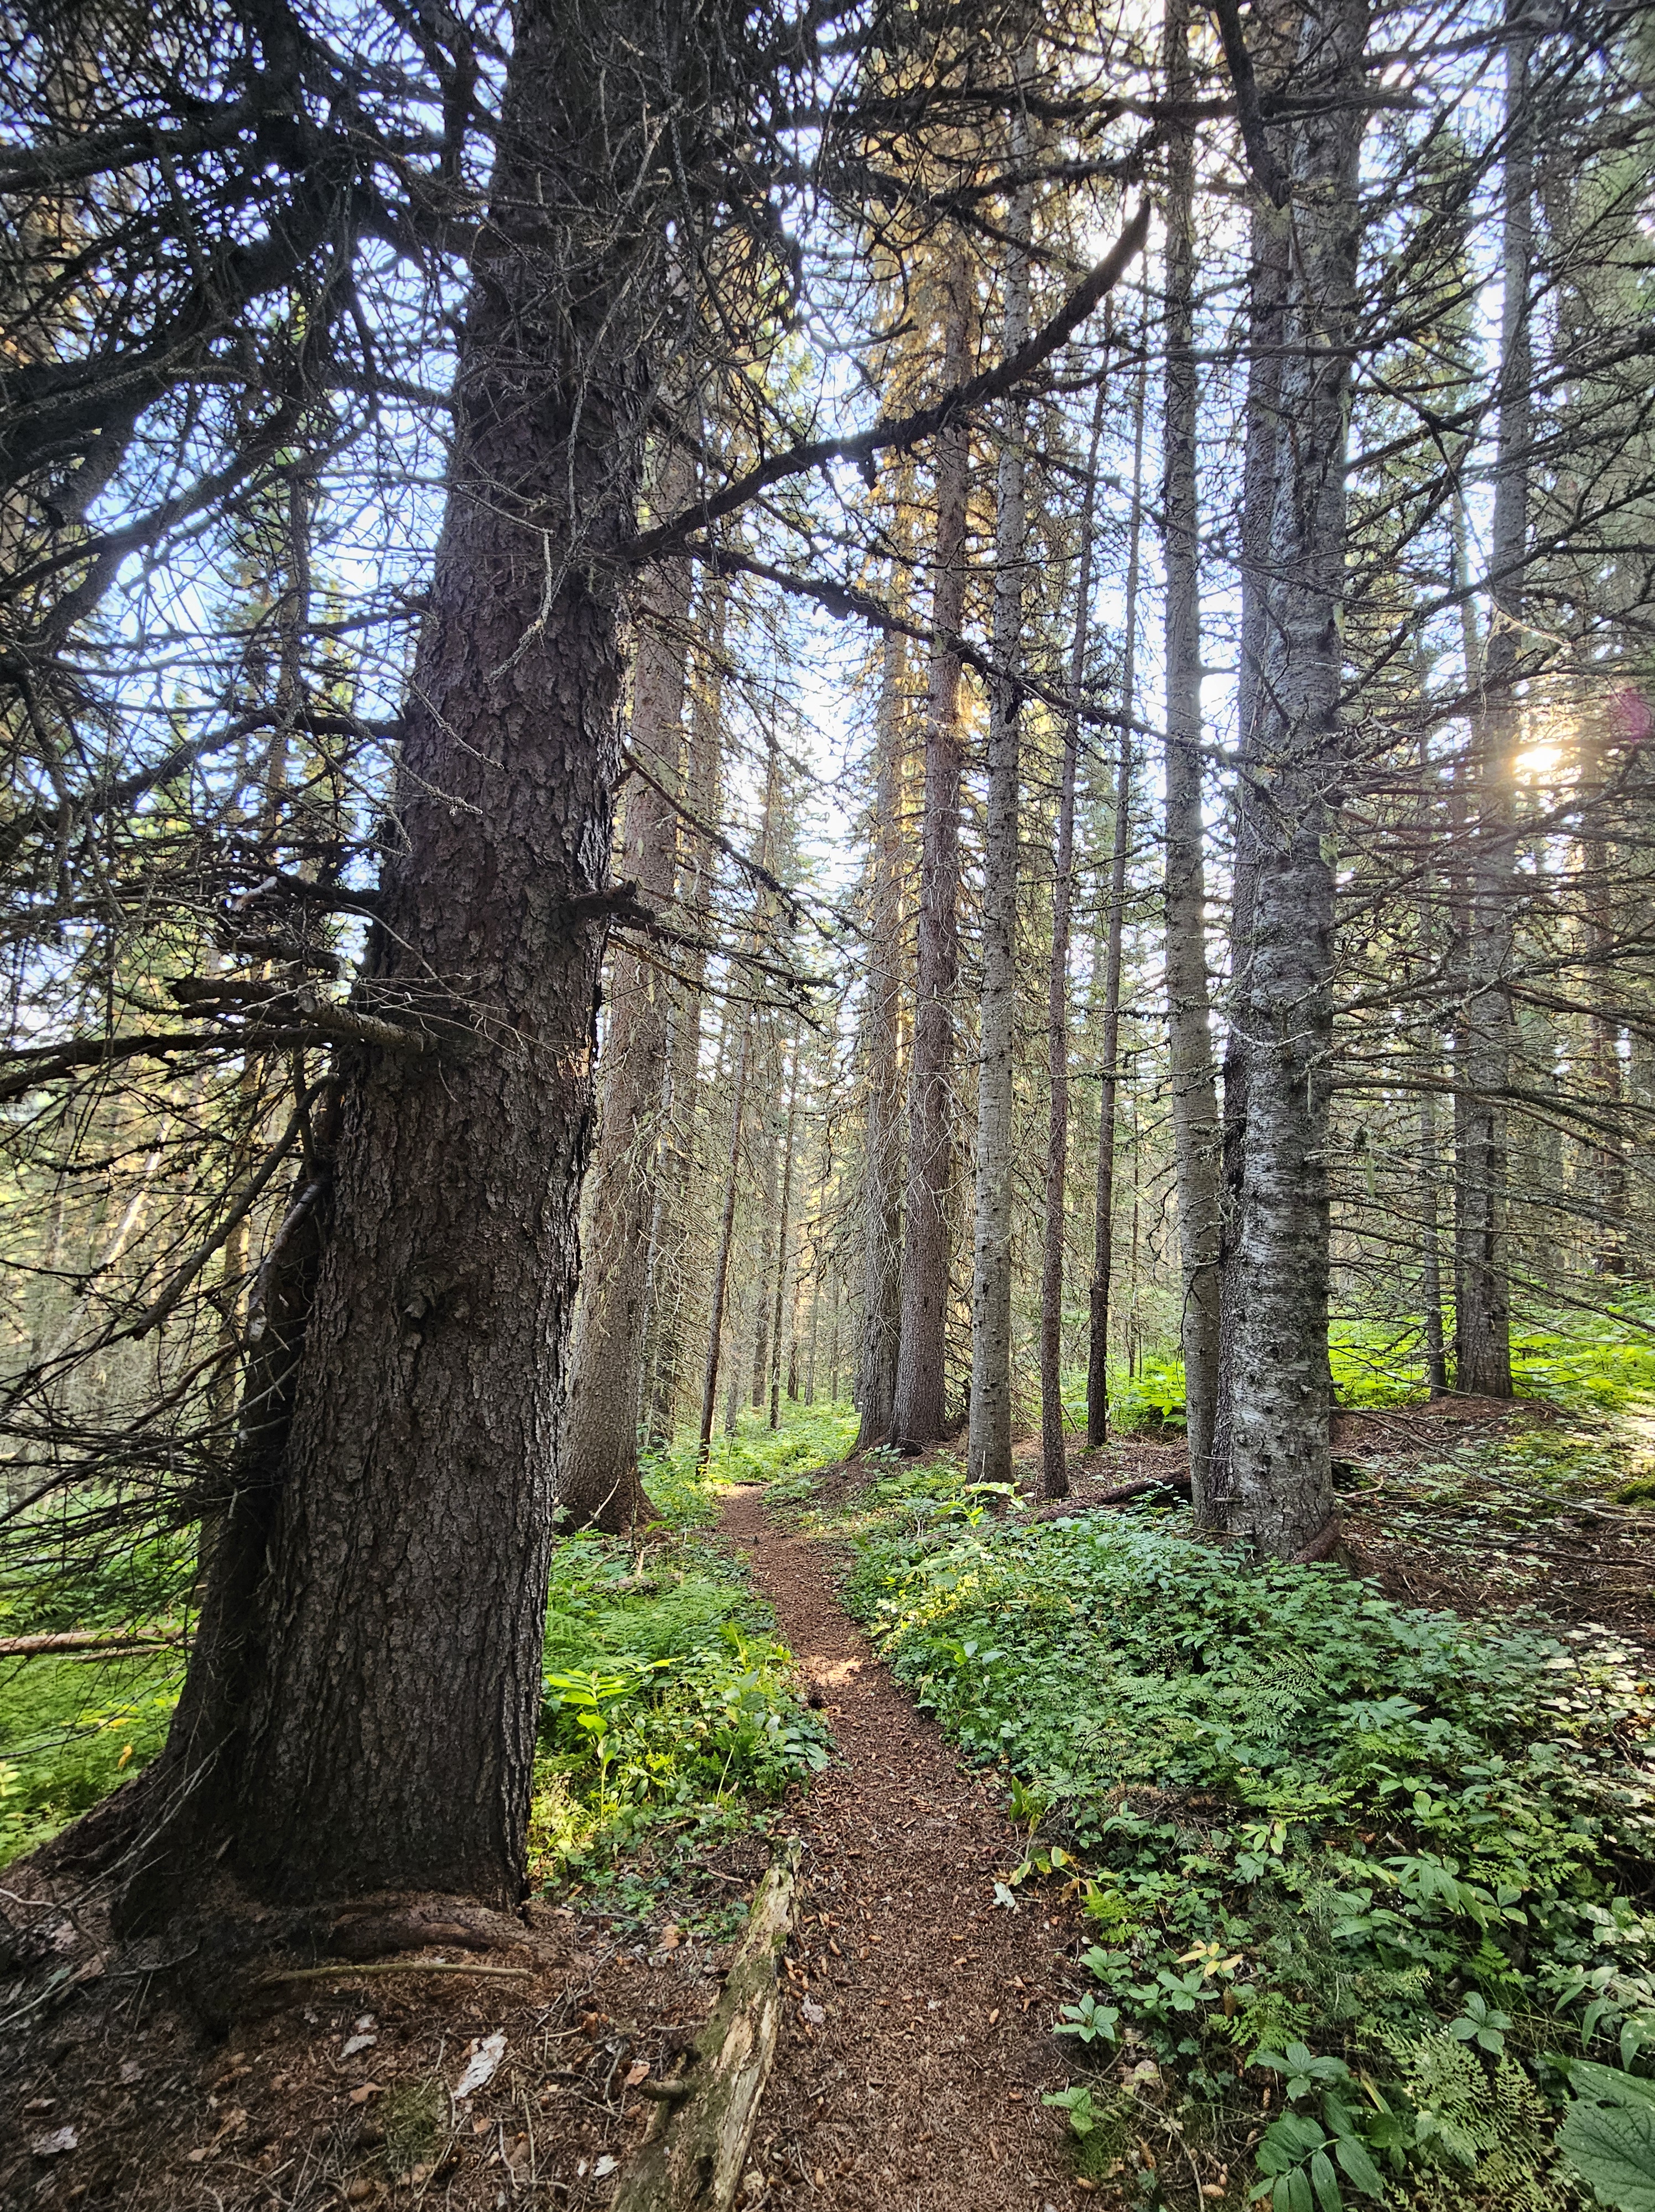
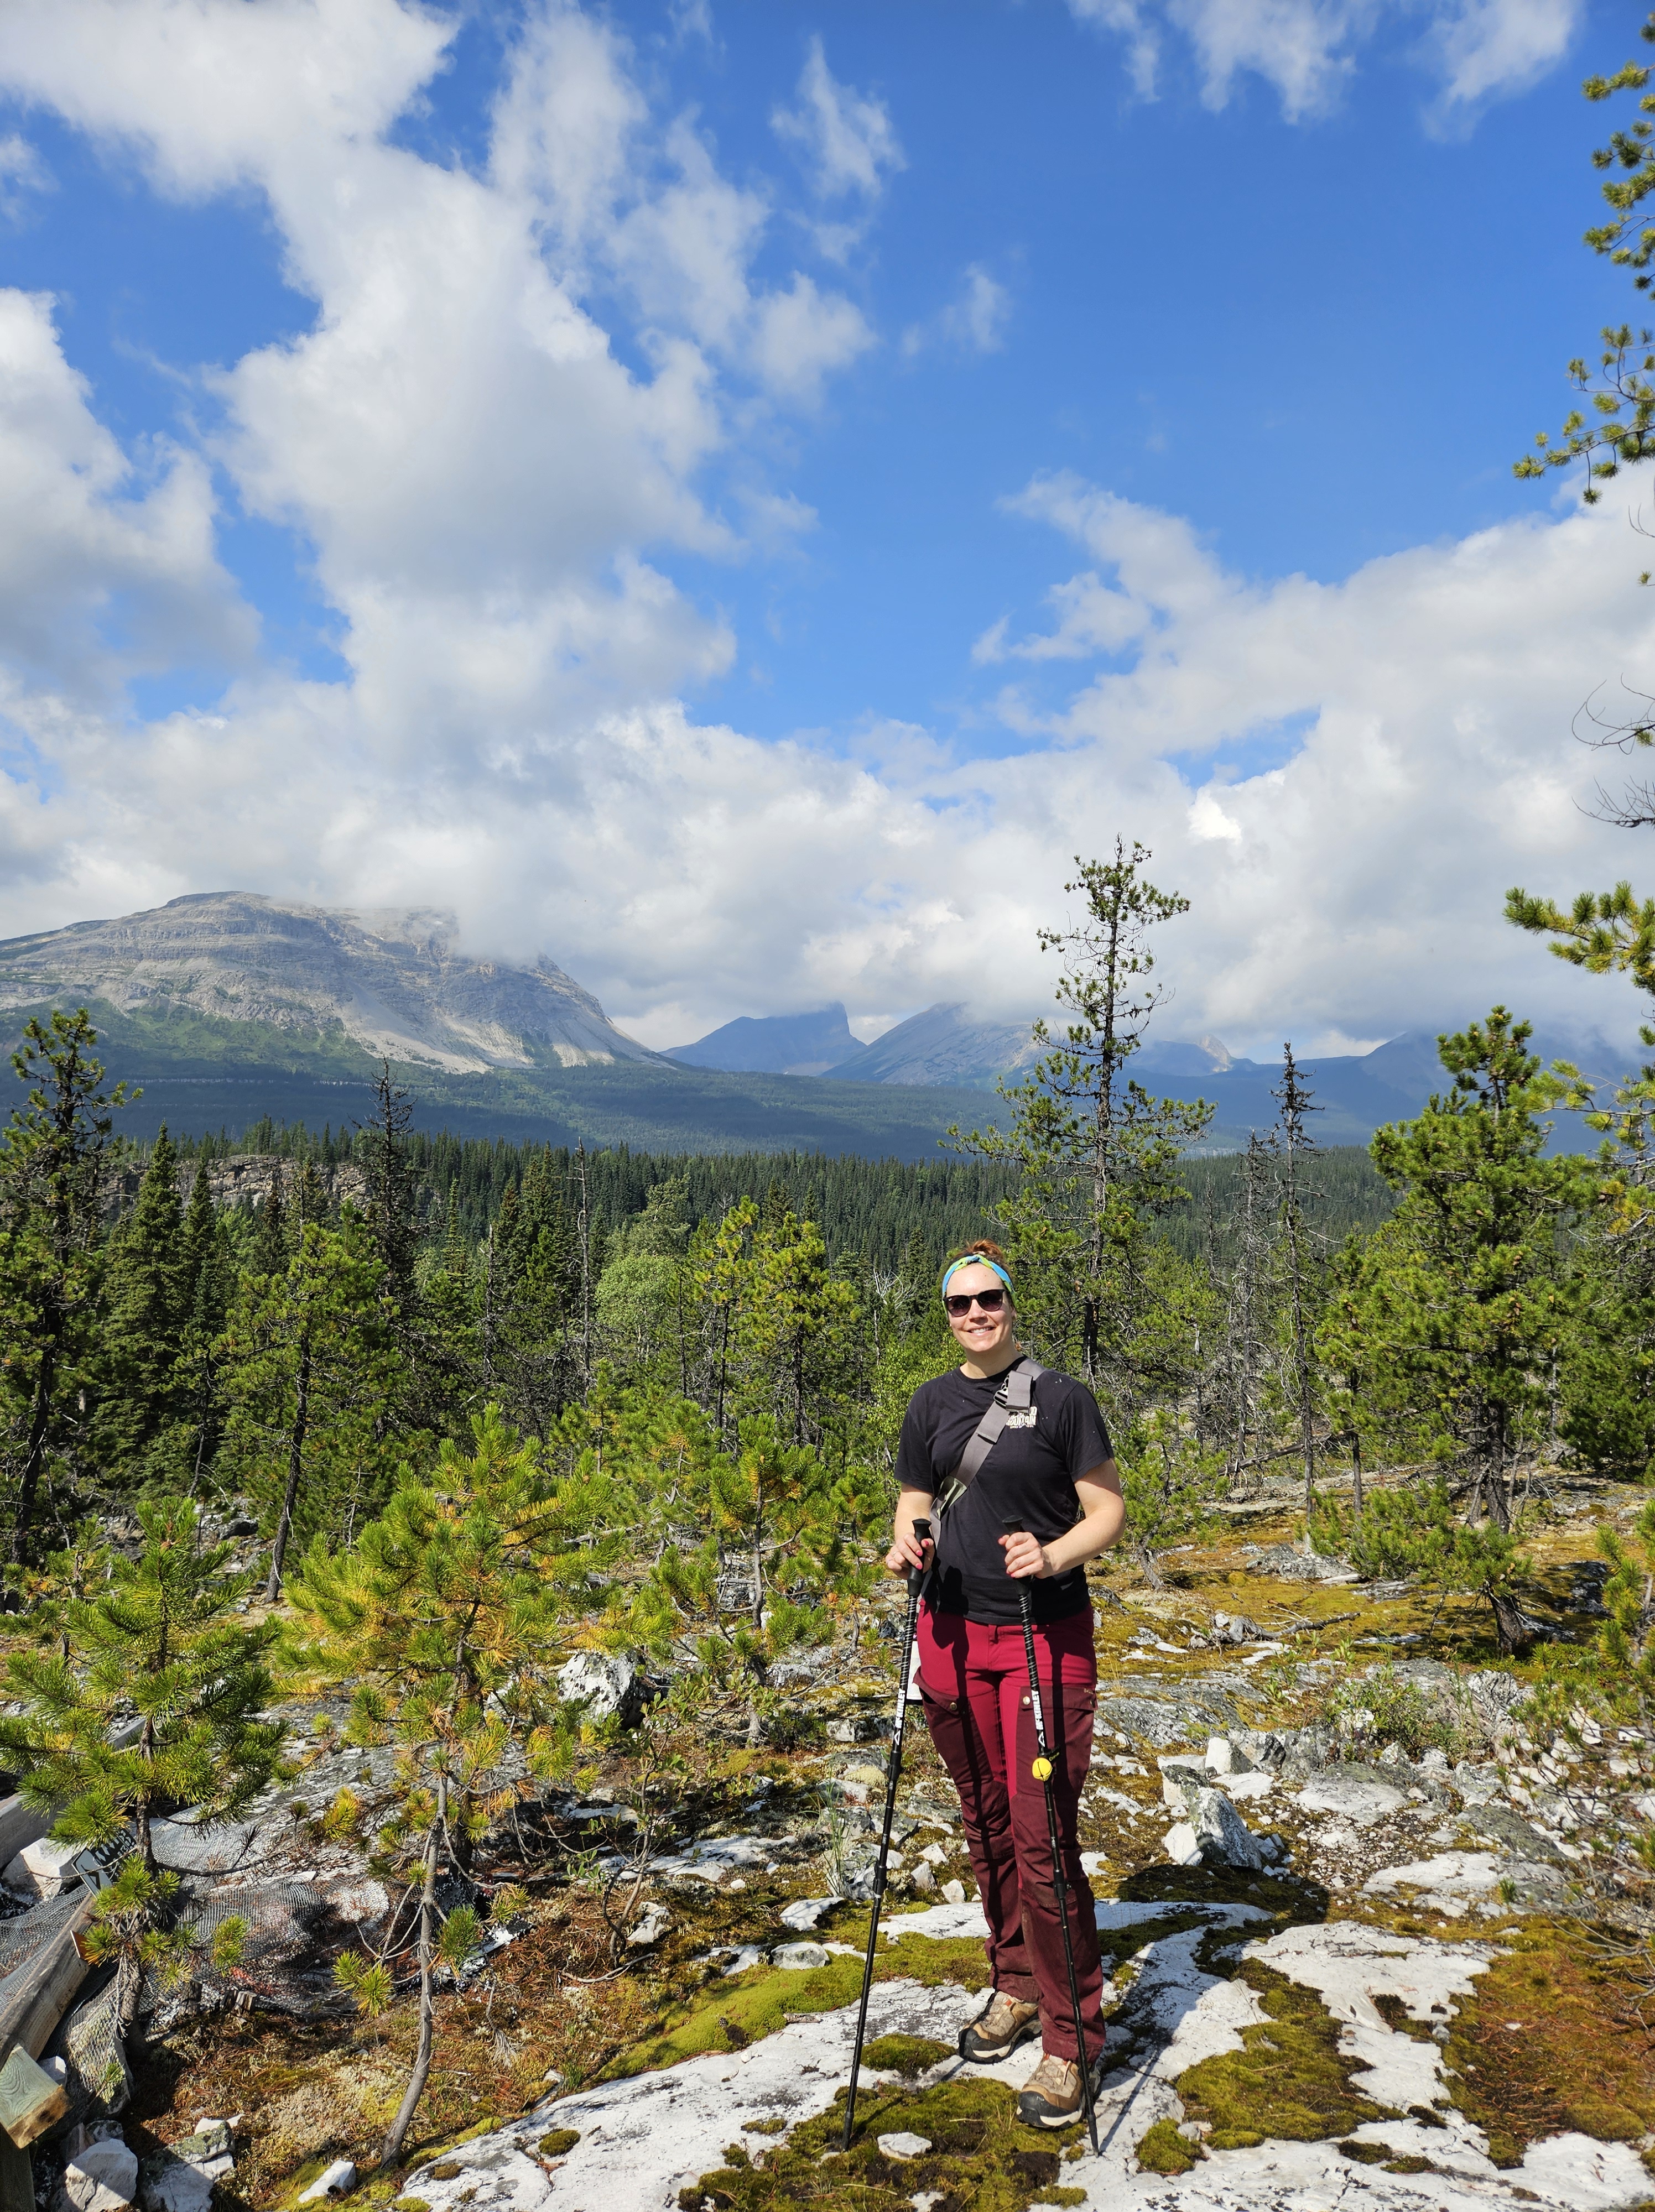
This section of trail is relatively flat, following the crystal-clear Murray River and winding through pine forests, where evidence of the Mountain Pine Beetle Outbreak are still visible (you may find yourself navigating over some fallen trees along the way). The trail can be quite shrubby in spots, so rain pants and/or gaiters are recommended, particularly on those damp, rainy days.
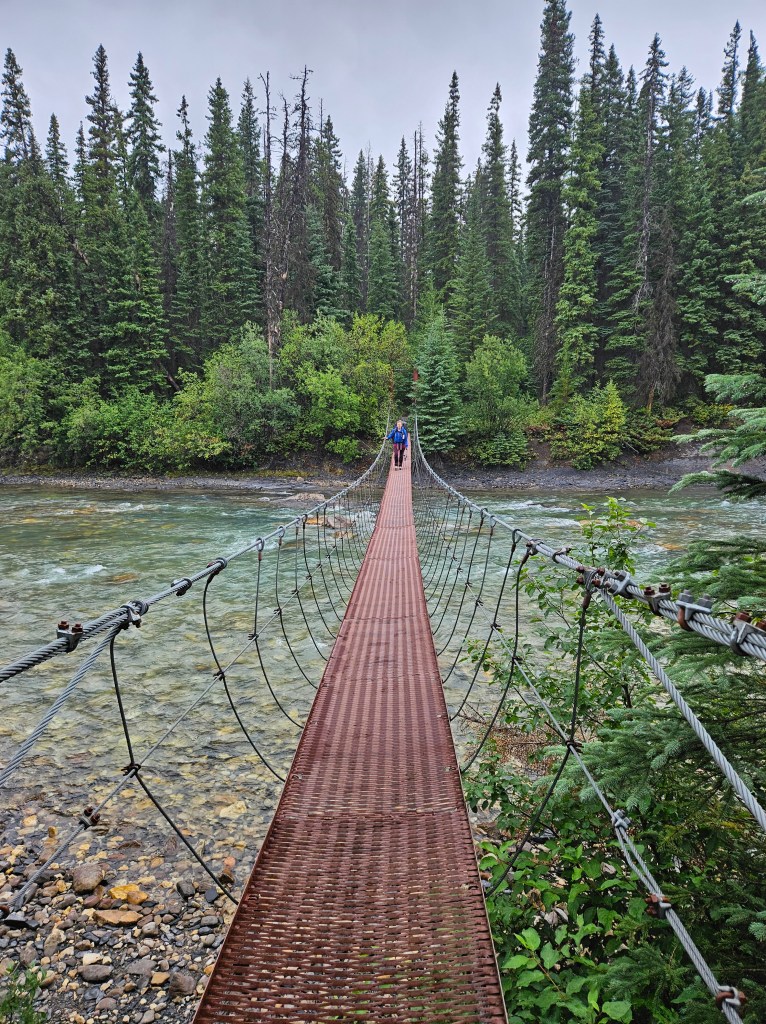
You’ll know you’re close to the first campsite when you cross the suspension bridge and come to a fork in the trail. Taking the right at the fork will lead you to the Murray River Camp, just a few hundred meters off the main path. The camp is well-equipped with tent pads, bear caches, fire rings, a pit toilet and even some wood was available.
Note: Be sure to fill up your water here, as you’ll be heading away from the river for a while.
Fork at Murray River Camp to Trot Camp (7 km to 15 km)
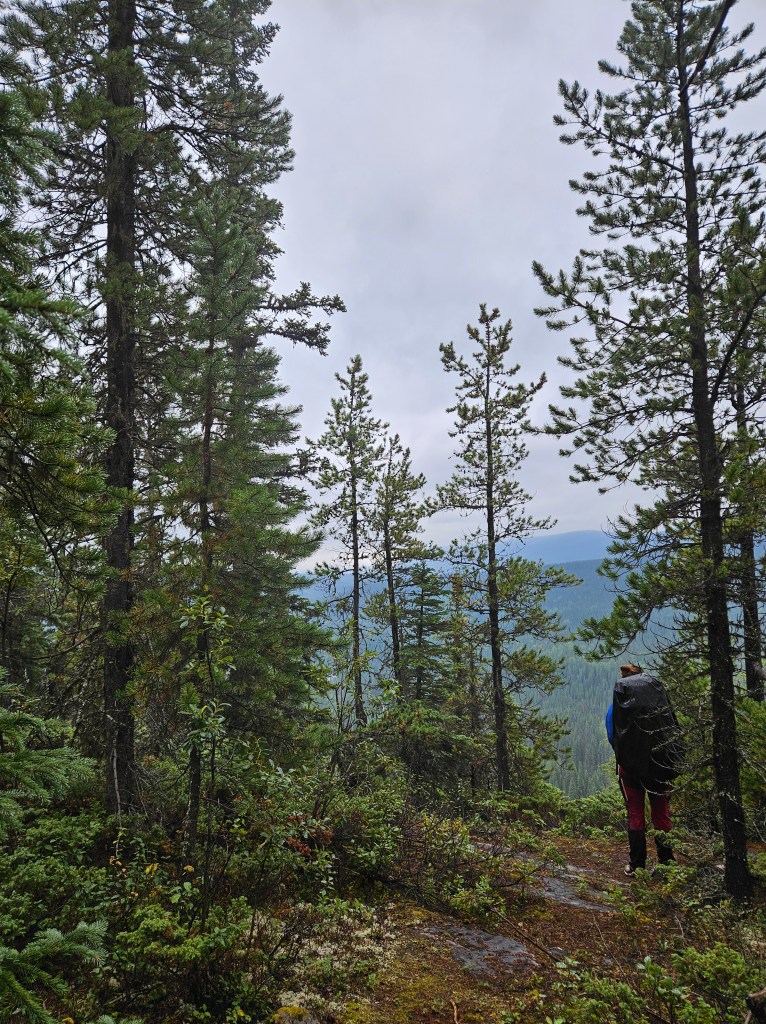
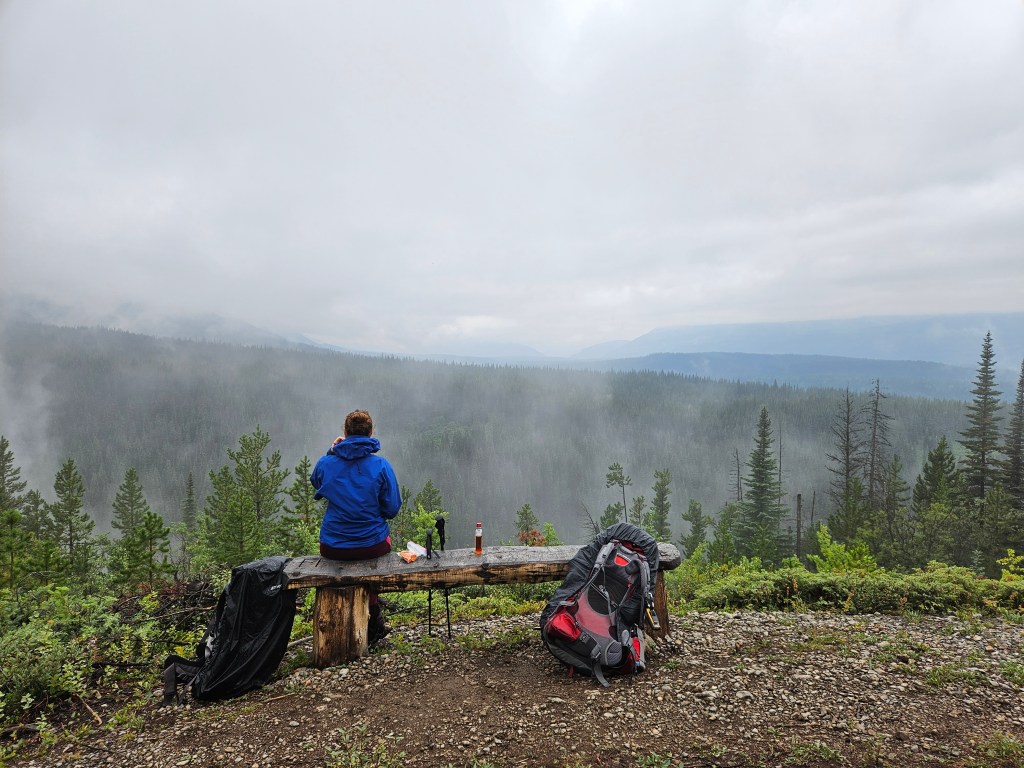
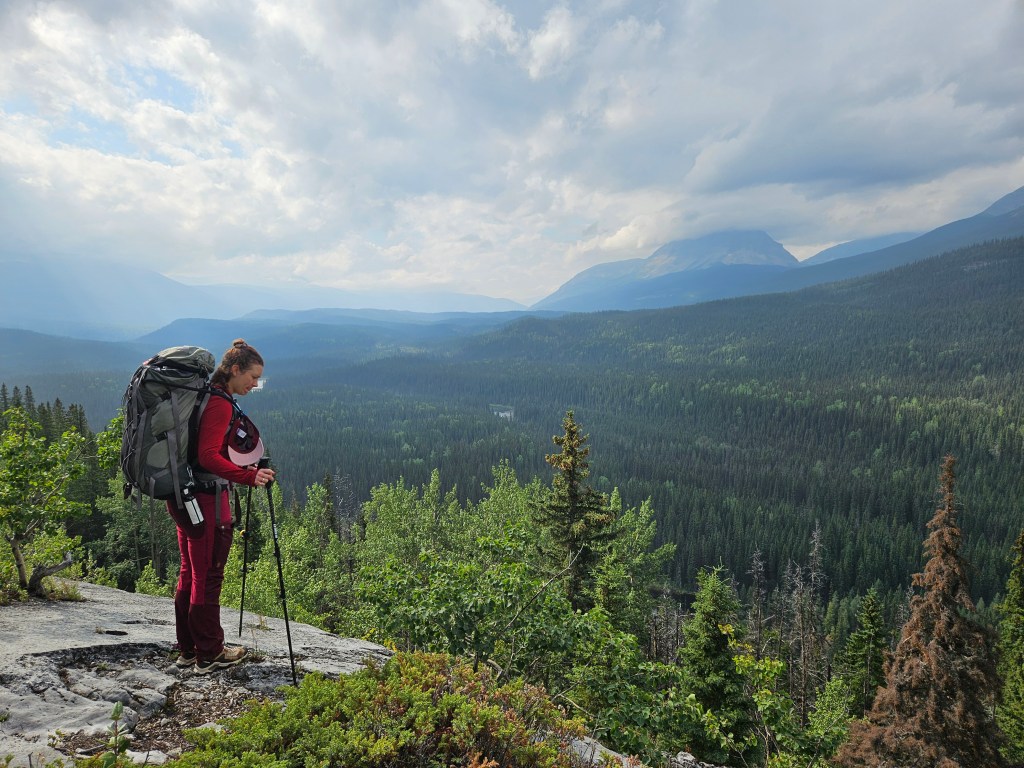
After crossing the suspension bridge, continue on the main trail by taking a left at the fork (the right leads to Murray River Camp) and begin a gradual 2 (ish) km ascent to the ridge. As you climb, you’ll be treated to your first views of the valley and Monkman Creek. Several scenic viewpoints line the ridge as you make your way to the heli pad at kilometer 14, where a bench offers a perfect spot to soak in the views. From here, the trail quickly descends off the ridge into the forest, where you’ll find Trot Camp. This is the smallest of the campsites, but it still offers all the same amenities as the others.
Note: Trot Camp makes a great stopping point if you’re not planning to hike all the way to Cascades camp in a single day.
Trot Camp to Cascades Camp (15 km to 22 km)
From Trot Camp to the 18.5 km mark, the trail continues to wind through a series of descents and ascents, crossing numerous creeks along the way. At 18.5 km, you have two options: you can continue straight for another couple kilometers to reach the direct access point for Cascades Camp (this is the recommended route, and the one we took on our way out), or you can choose to descend down a steep trail that leads to a couple access points for cascading waterfalls.
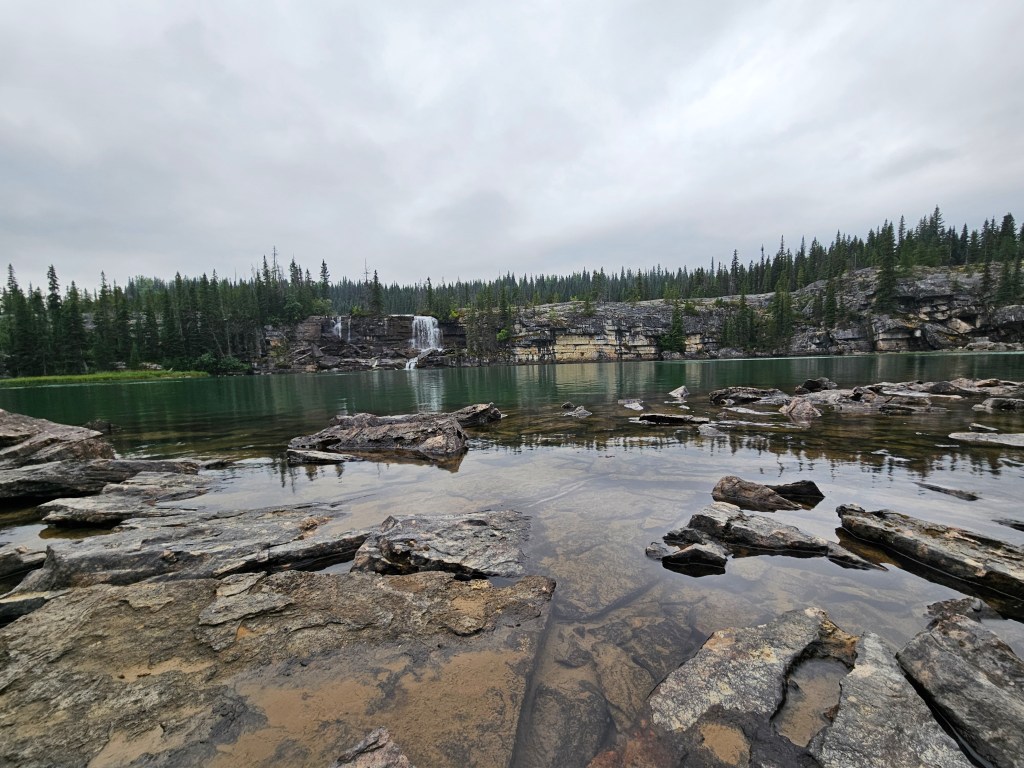
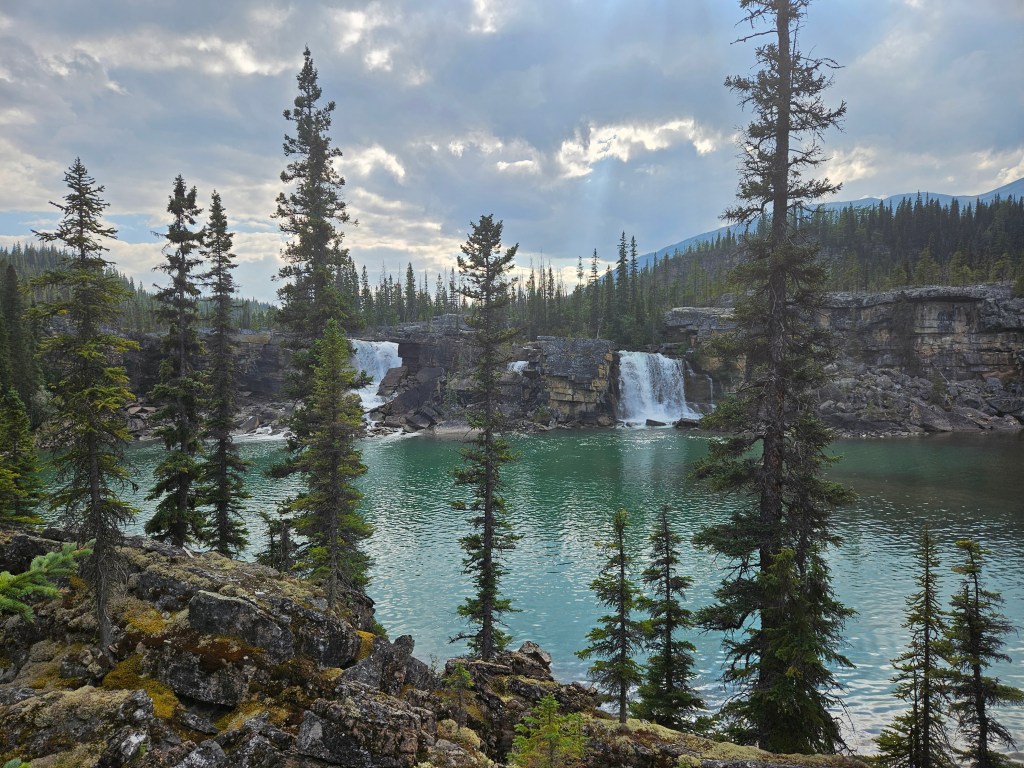
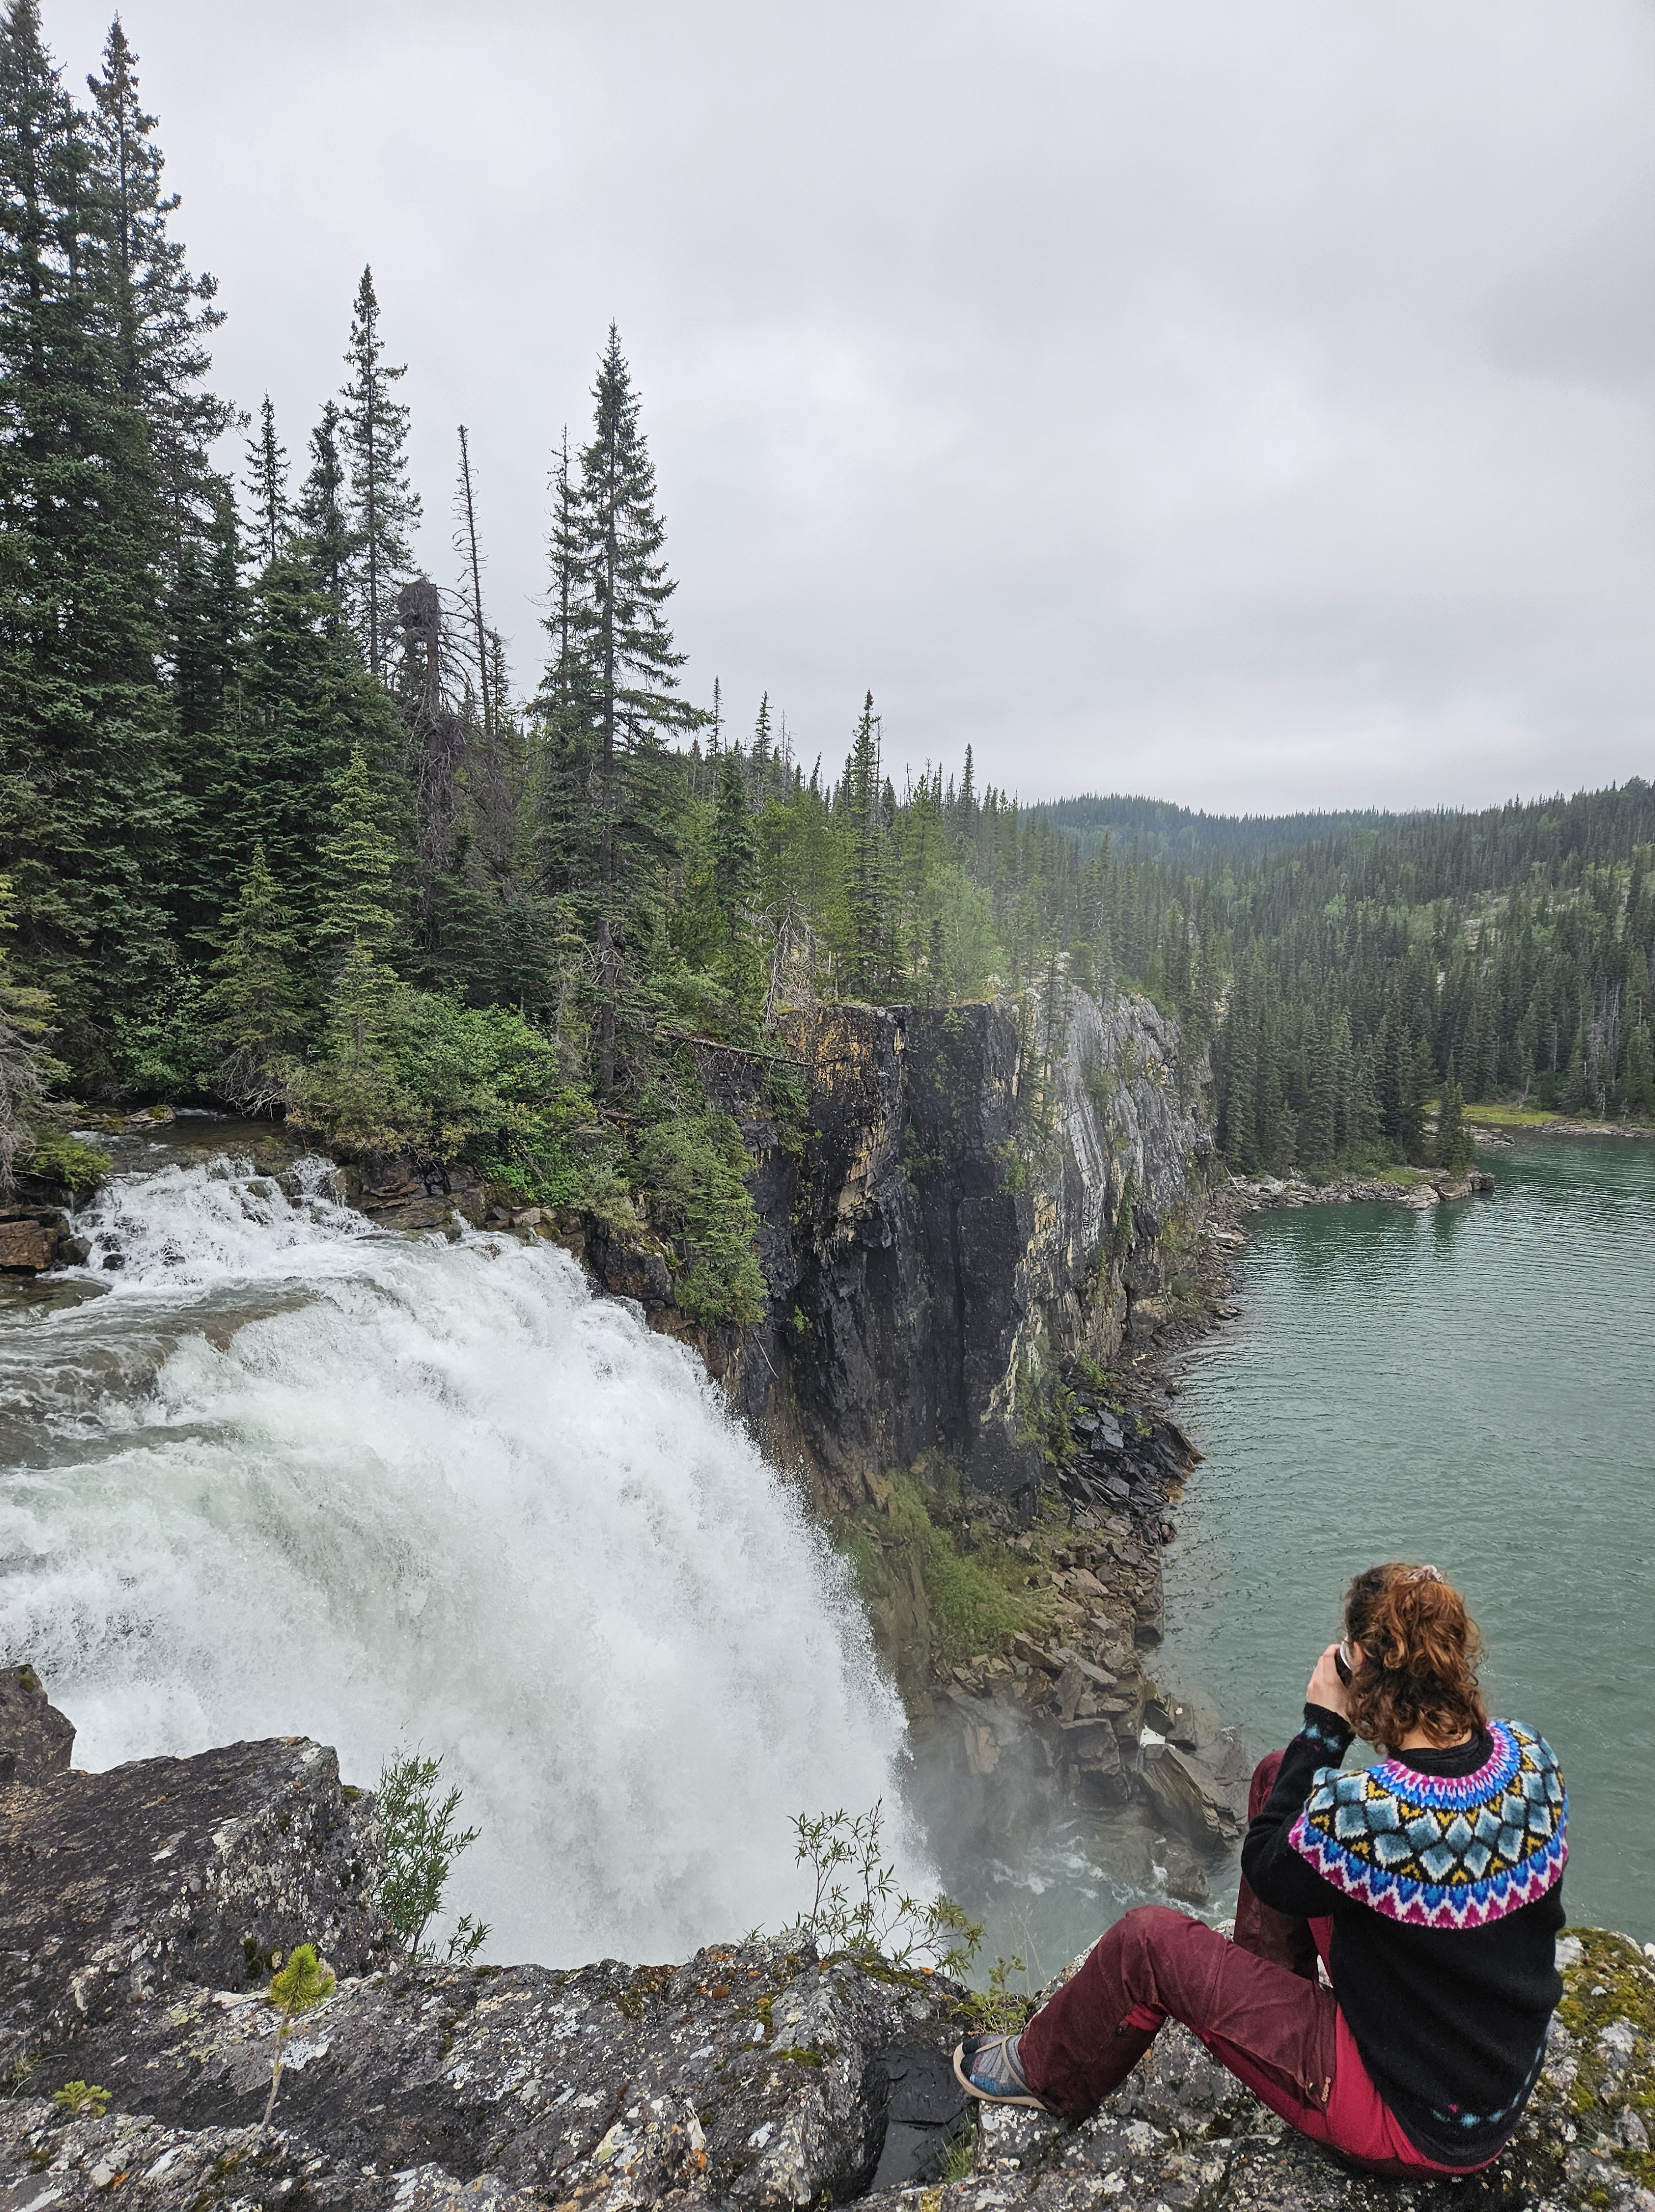
If you decide to take the steeper route, be prepared for a challenging descent, but it will reward you with your first glimpses of the cascades, including the Upper and Lower Moore Falls. Keep in mind that you’ll need to venture off the trail for a couple hundred meters to view each of the waterfalls. This route can be tricky due to its wetland environment, and navigation may become difficult in places.
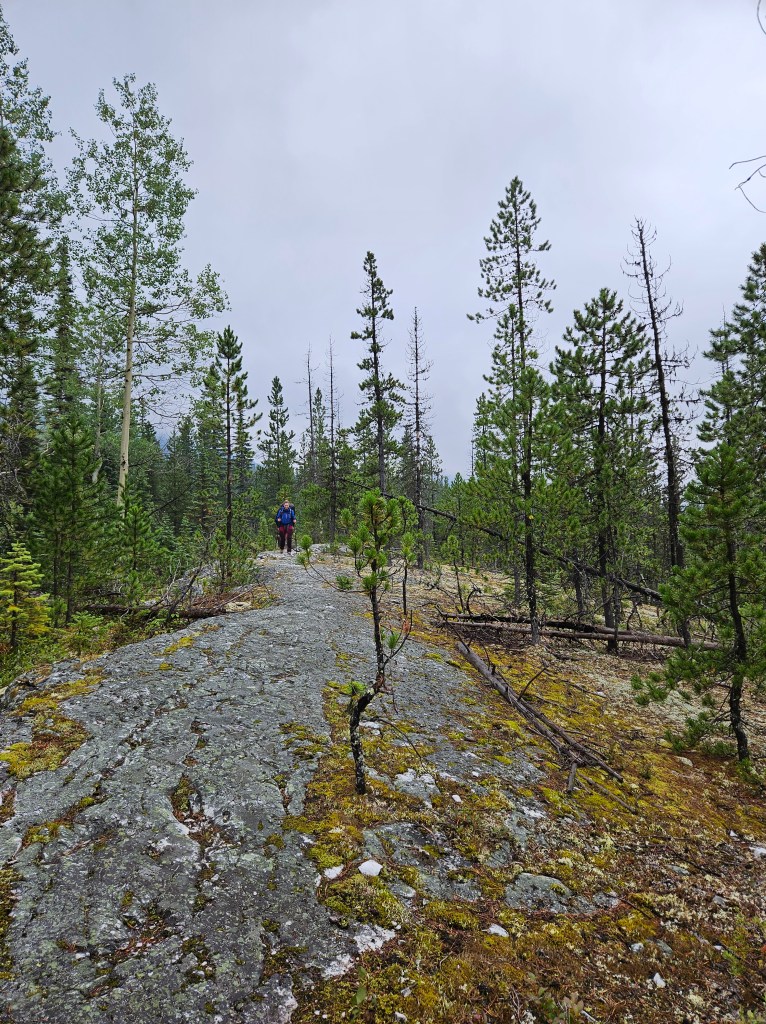
To reach Cascades Camp from here, you’ll need to climb back up through a steep, moss-covered rock section – truly a picturesque spot. Eventually, you’ll reach the rocky outcrop ridge where the trail connects with the other access route to Cascades Camp (the recommended path). At this intersection, you can opt to continue on to Devil’s Creek Camp but if Cascades Camp is your destination, it’s a short 700-meter descent to the camp.
We did not visit Devil’s Creek Camp on this trip, but it can be accessed either via the trail mentioned above or from another access trail off the main trail at around 23.5 km, on the way to Monkman Lake. At the camp, you can enjoy views of McGinnis Falls and take a short hike to Chambers Falls.

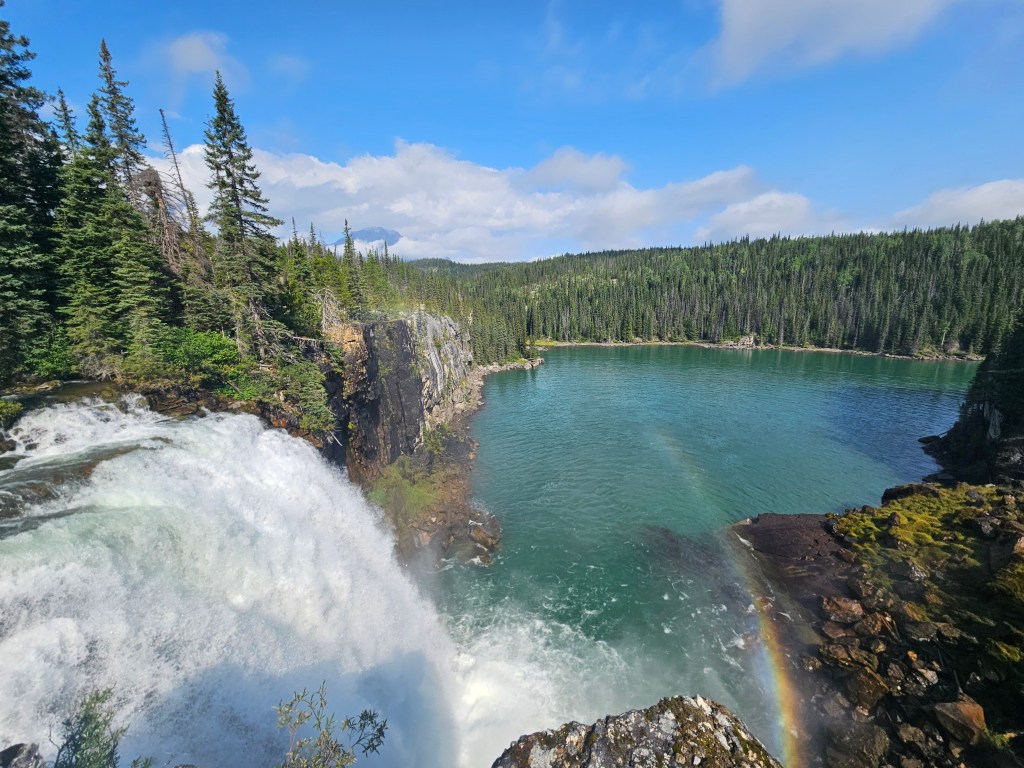
Cascades Camp is a beautiful spot and the recommended destination for camping. Directly in front of the camp, you’ll find the picturesque Shire Falls. A short walk will take you to the top of Brooks Falls, and just a few more minutes in the opposite direction will bring you to the viewpoint for Monkman Falls.
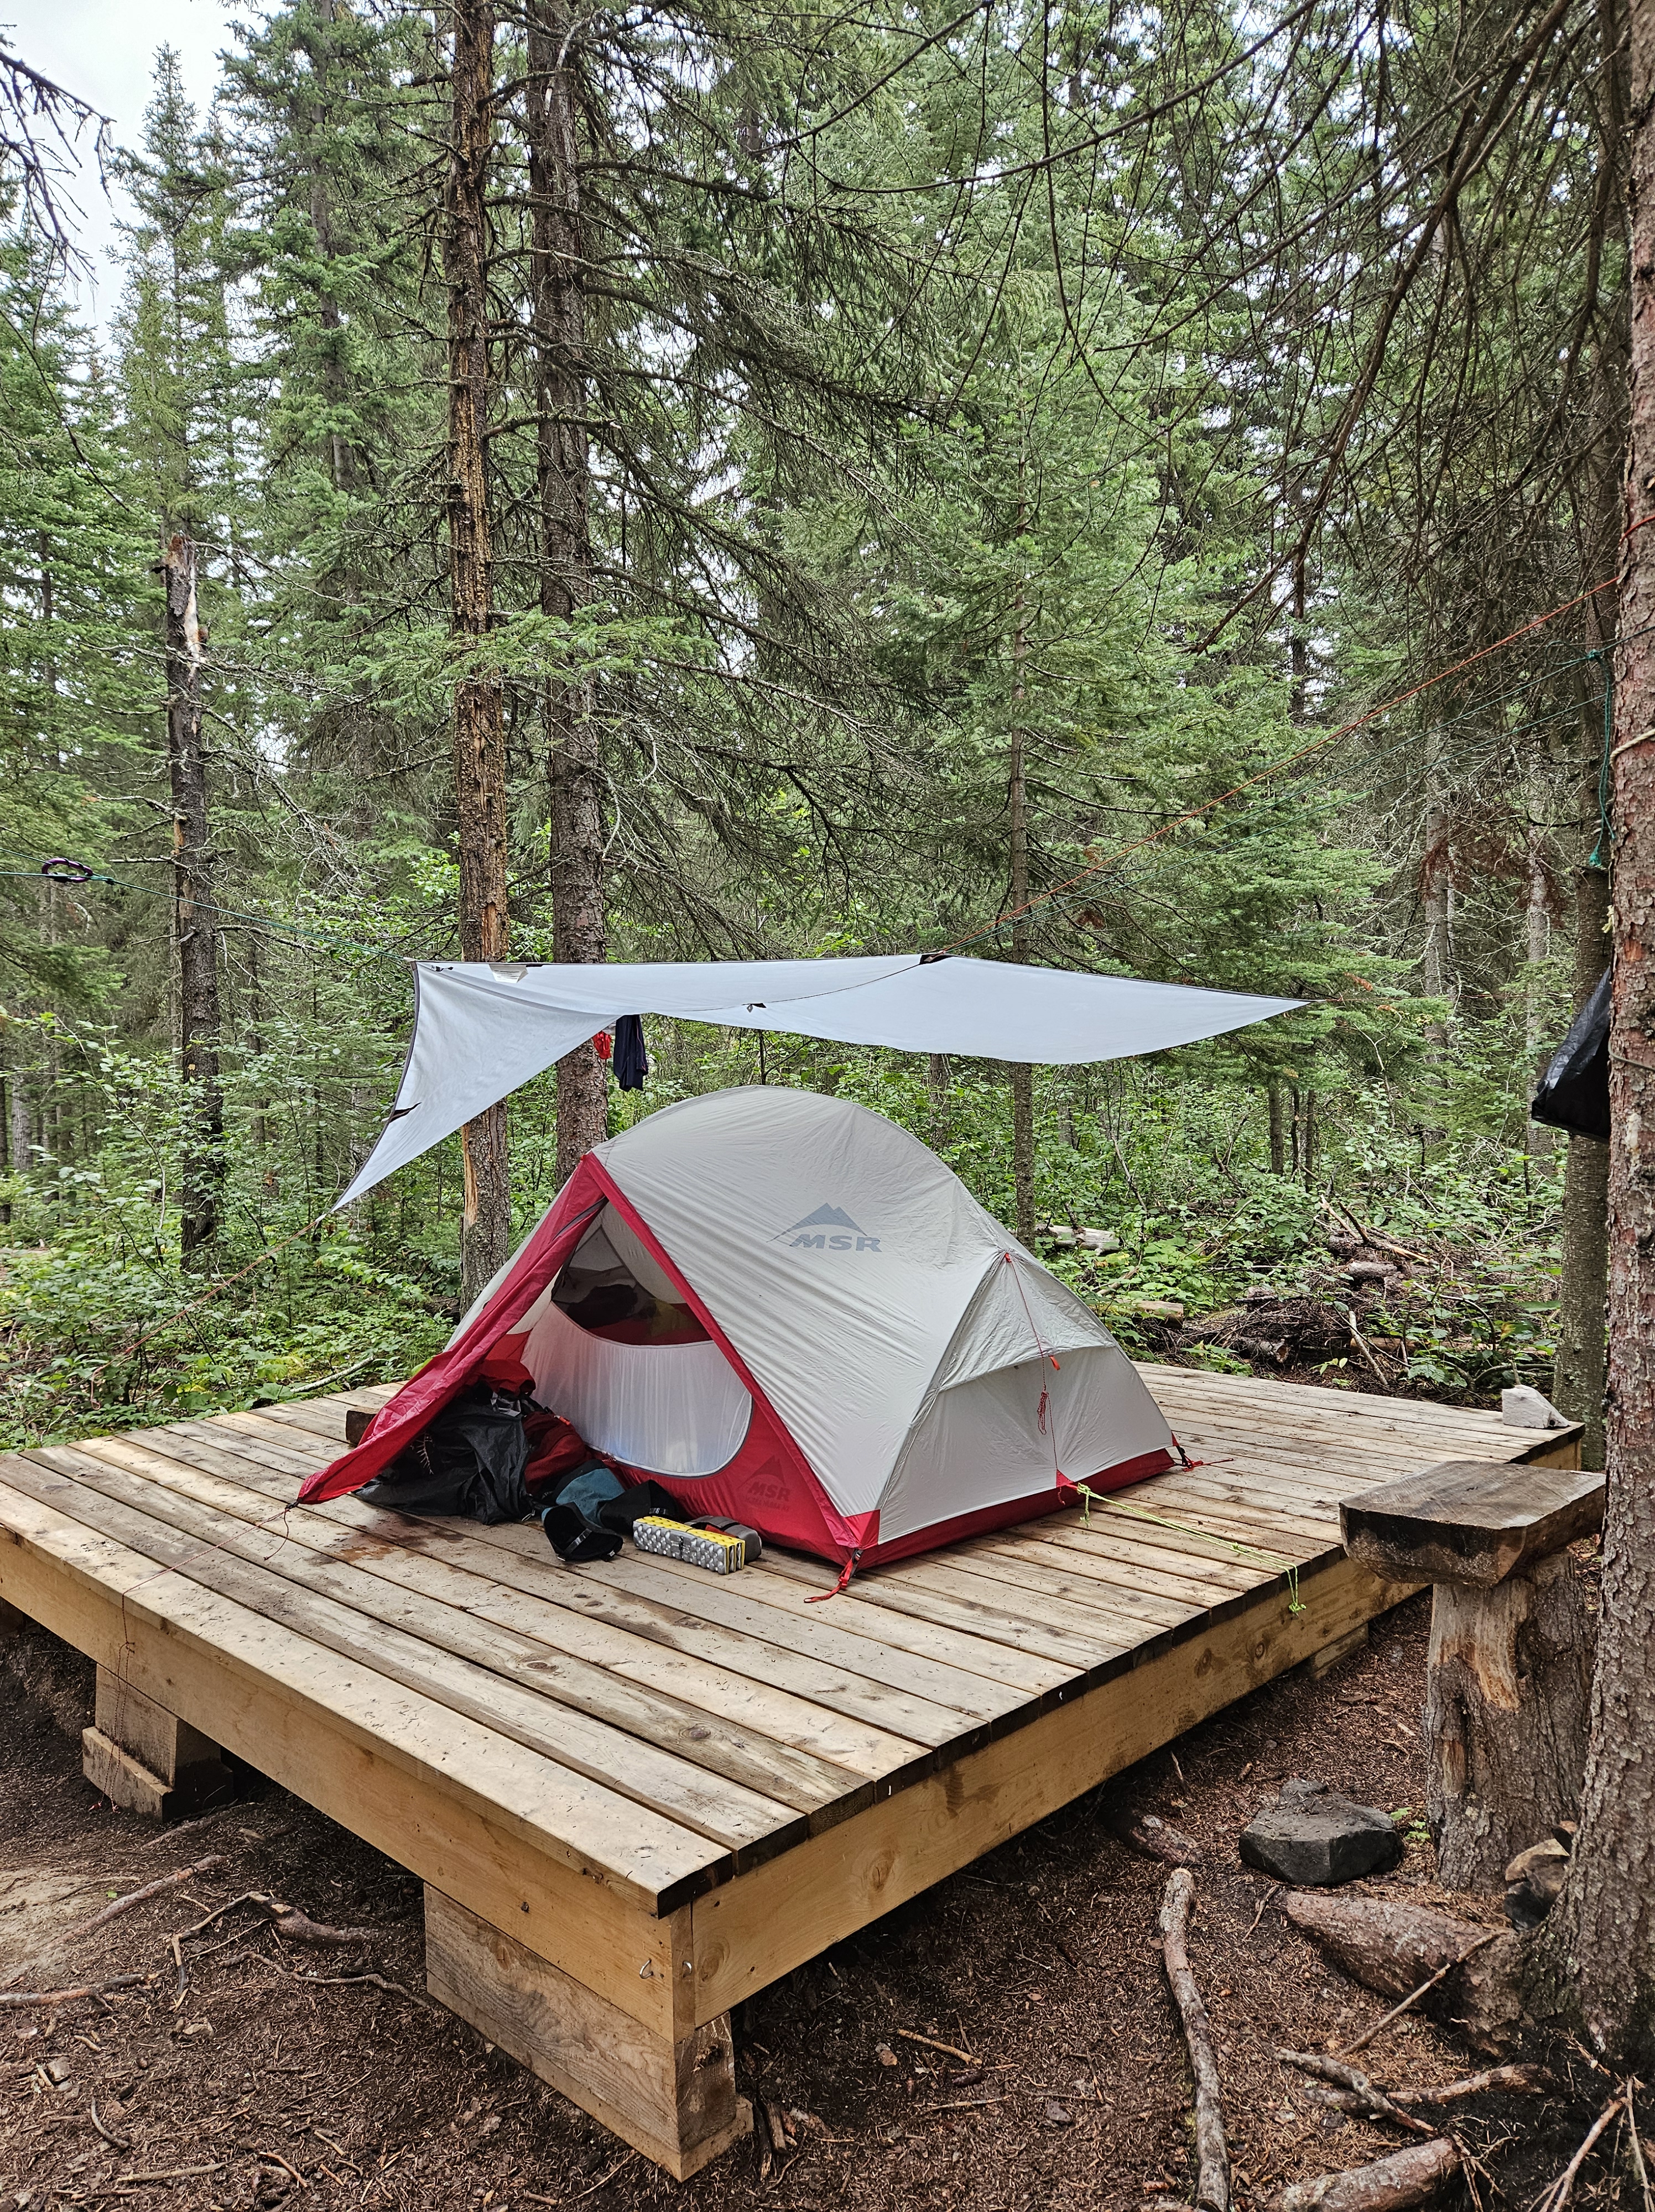
At Cascades Camp, all five tent pads appear new, and you’ll find multiple fire pits, two throne pit toilets, and locker-style bear caches.
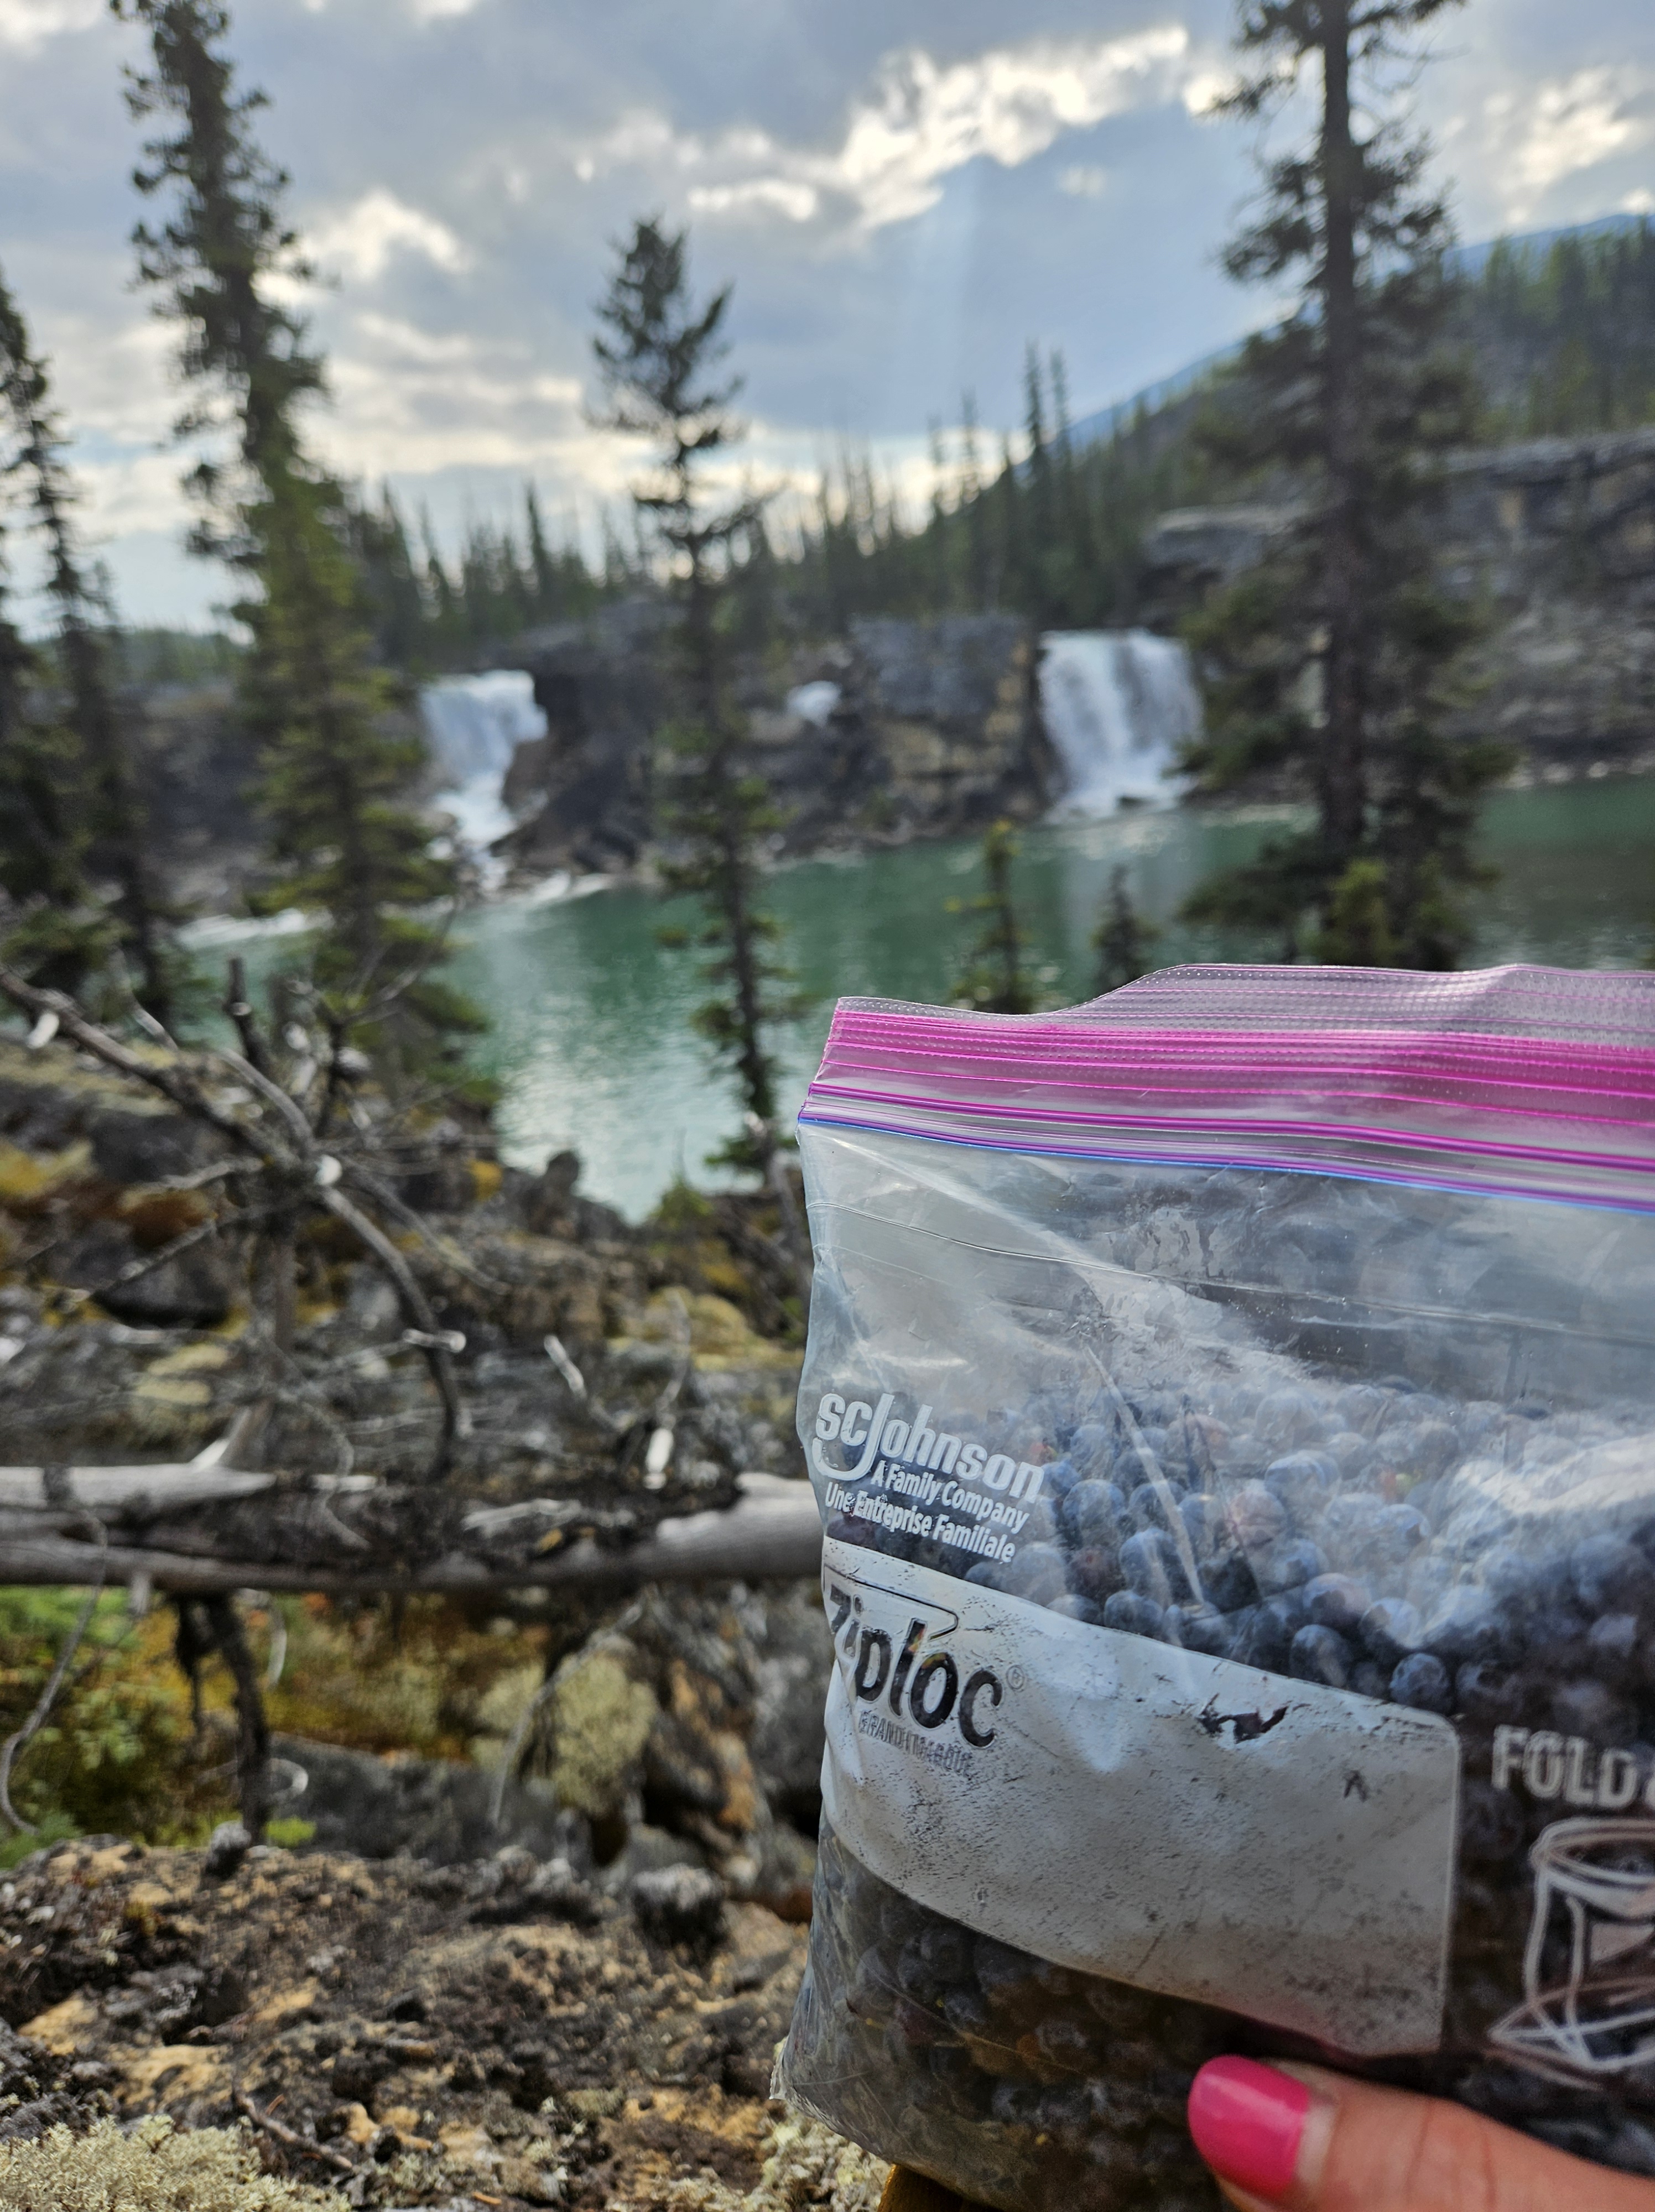
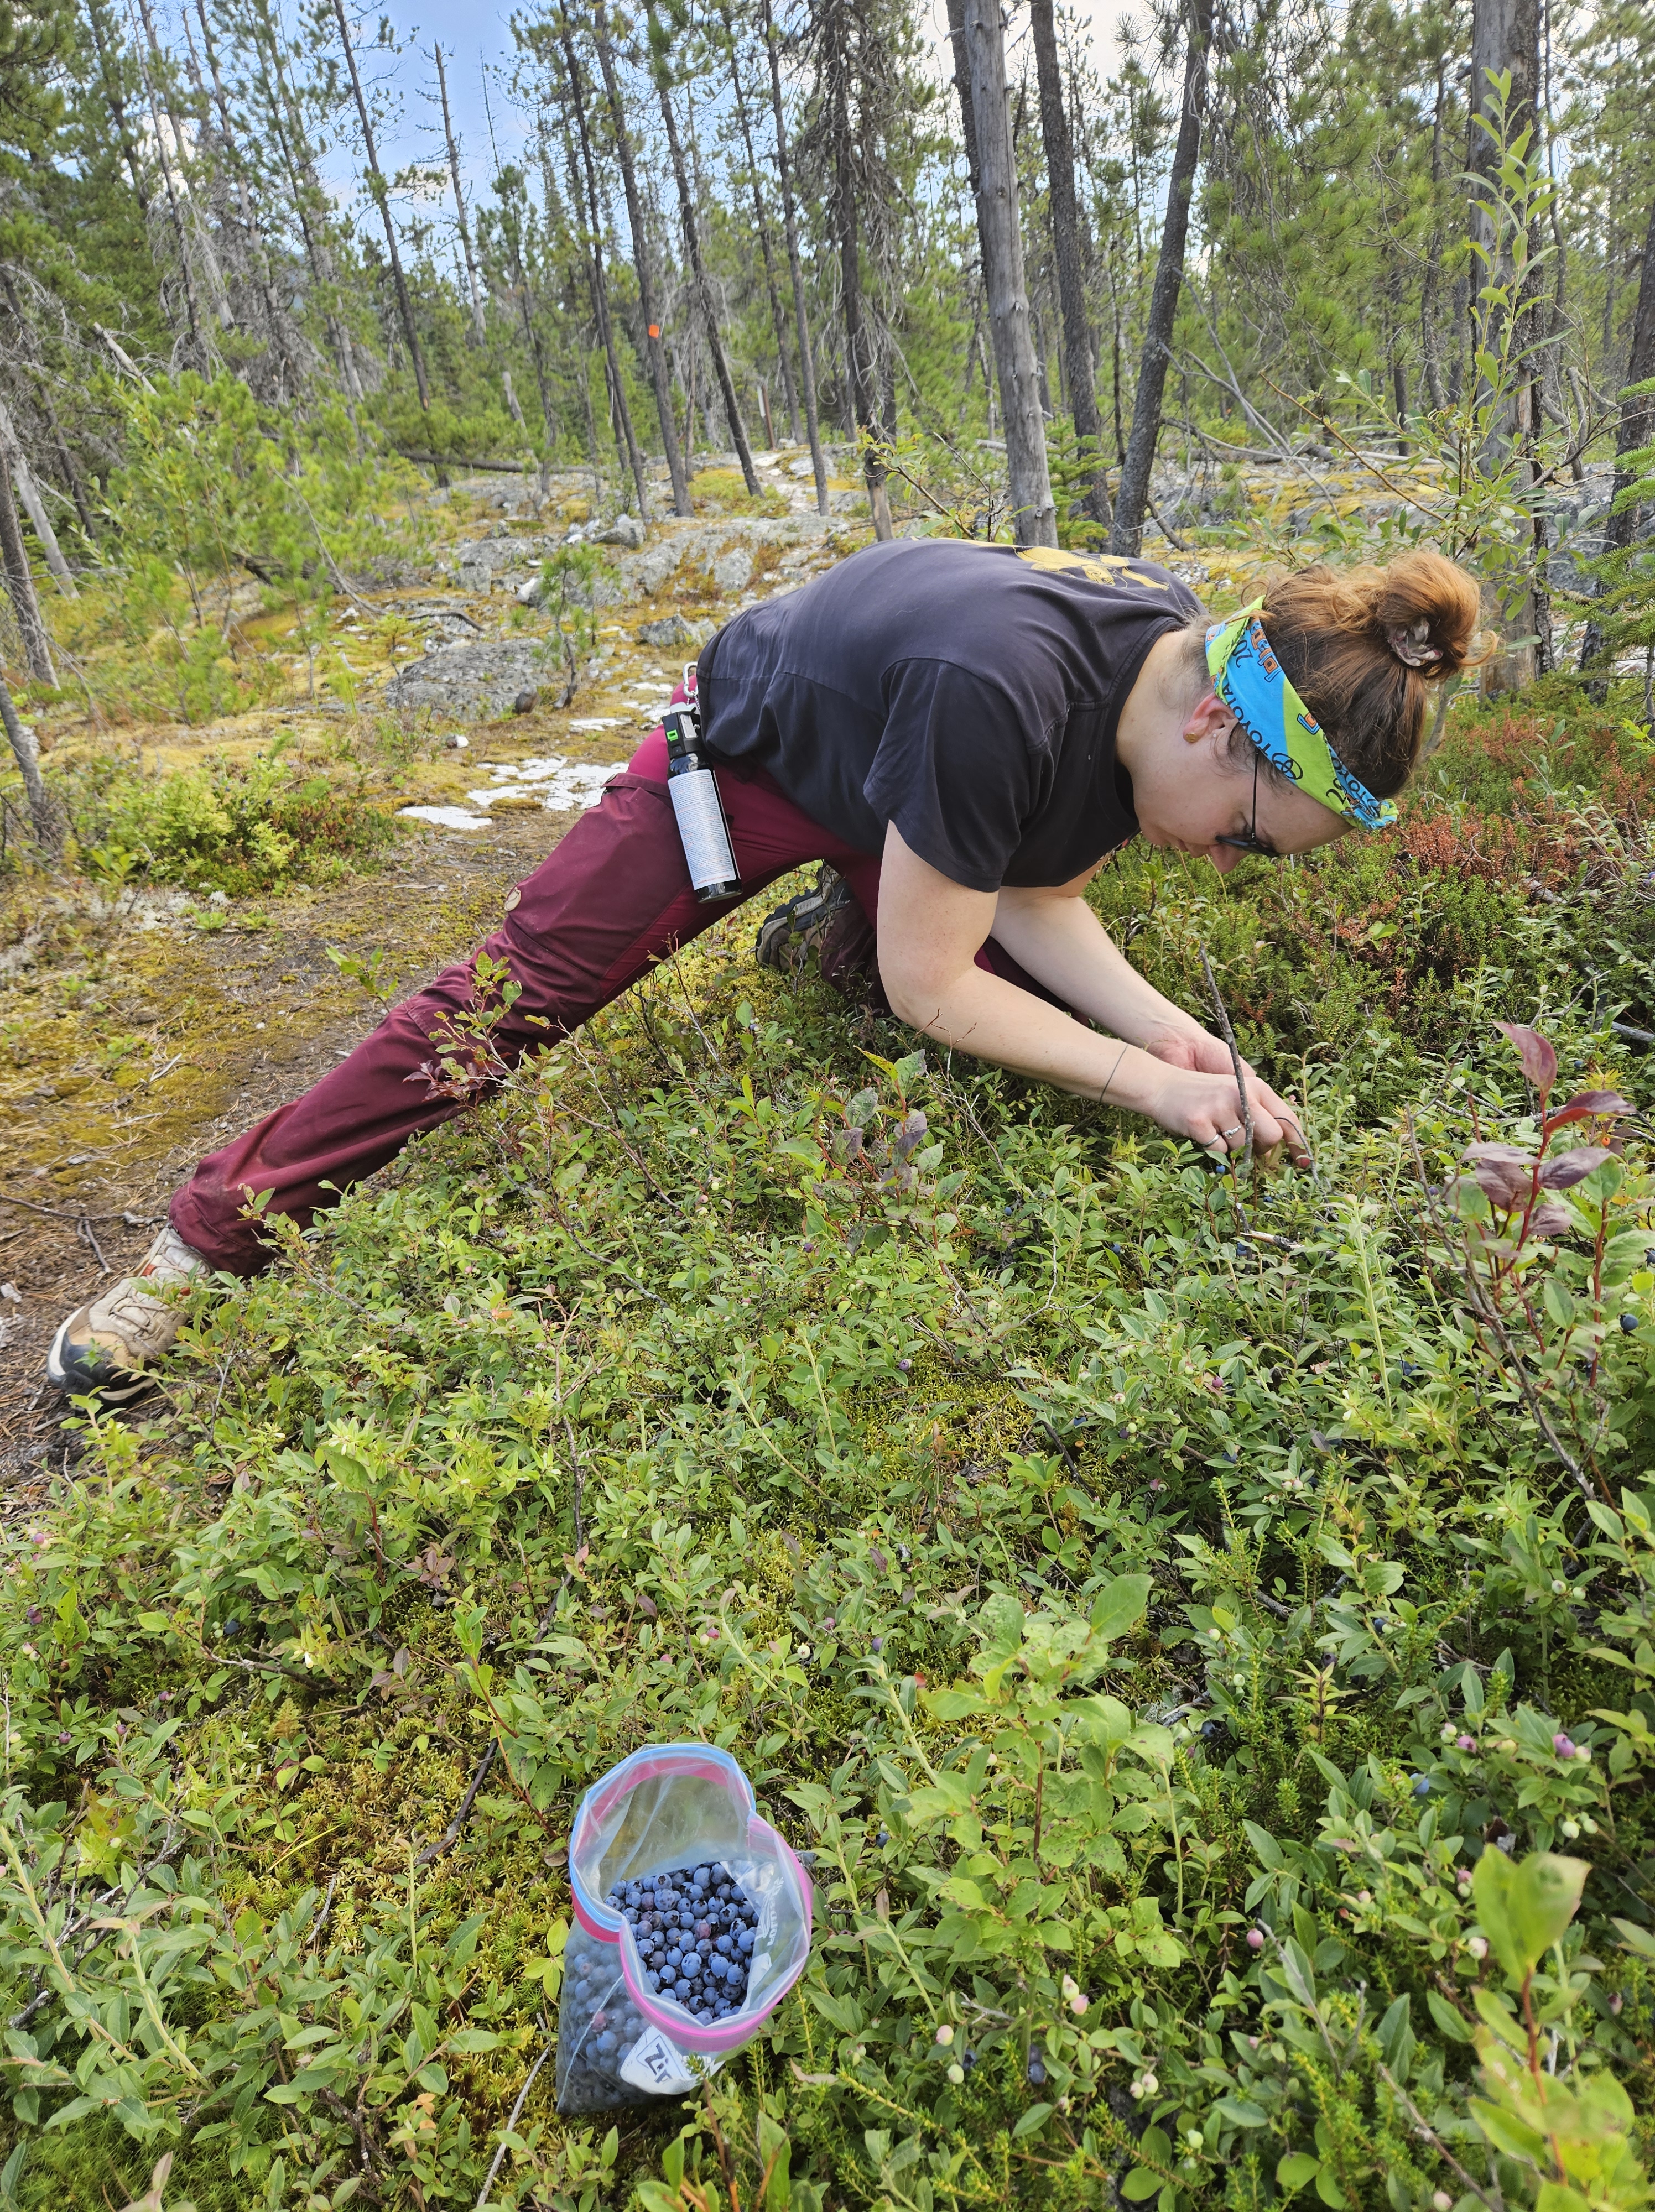
Note: On the recommended route from the main trail to Cascades Camp, you’ll find an abundance of blueberries and huckleberries in August. We picked a bag full which made our oatmeal much tastier and provided a great snack for the hike out.
Day 1 breakdown:
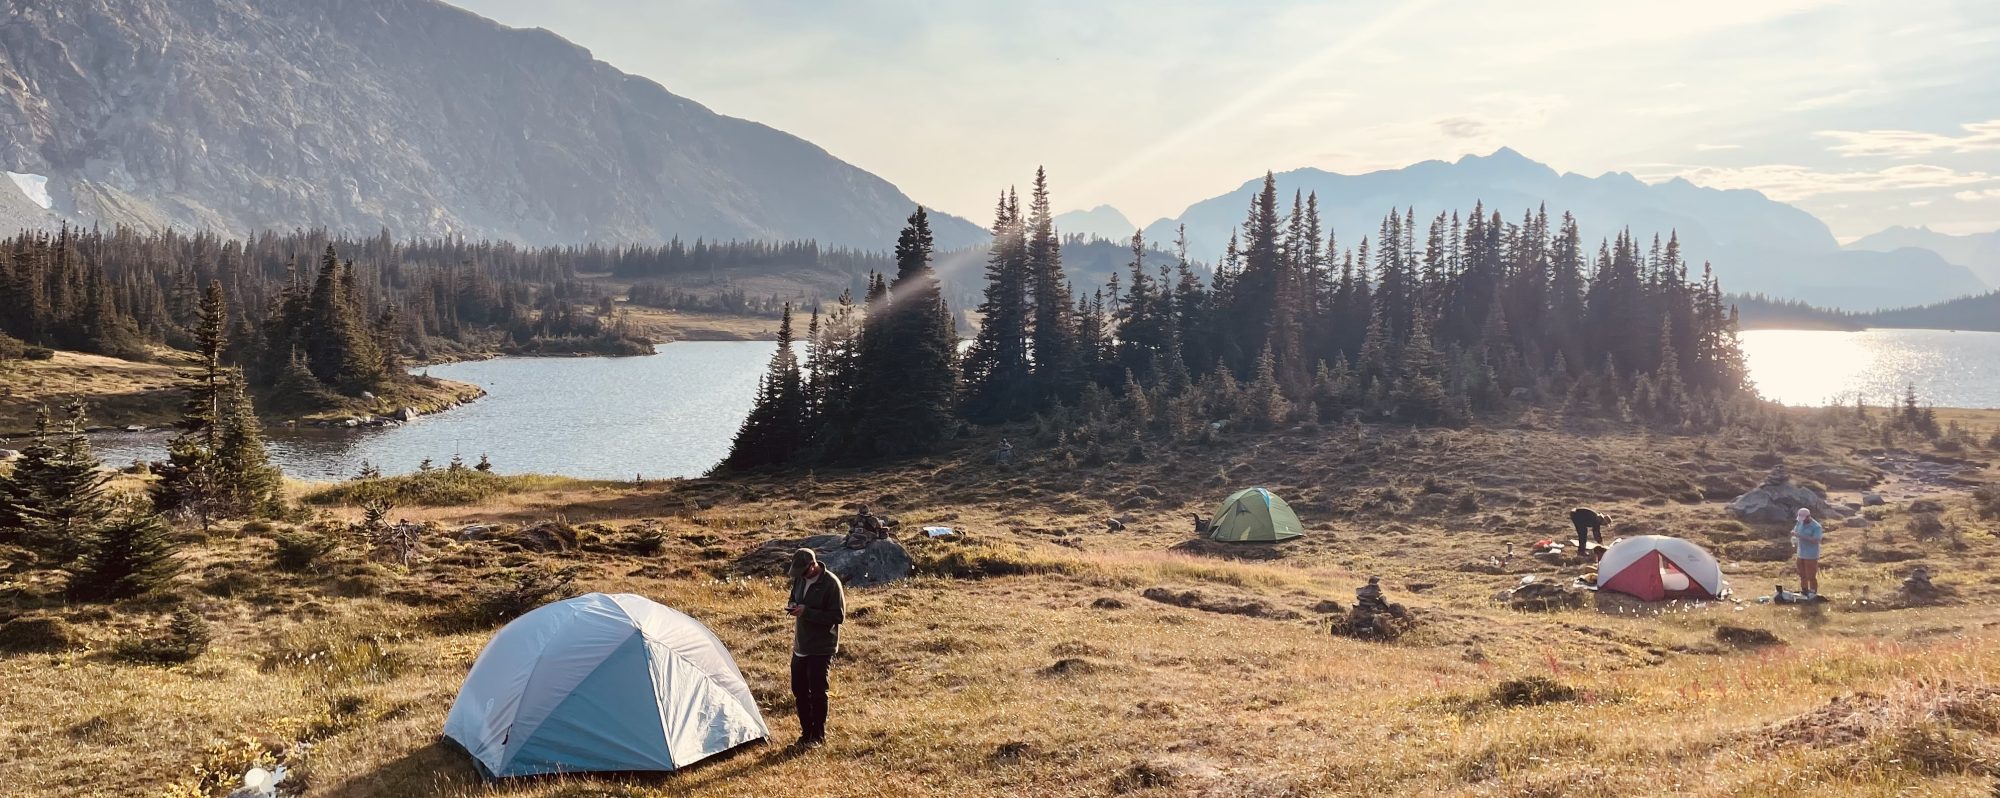
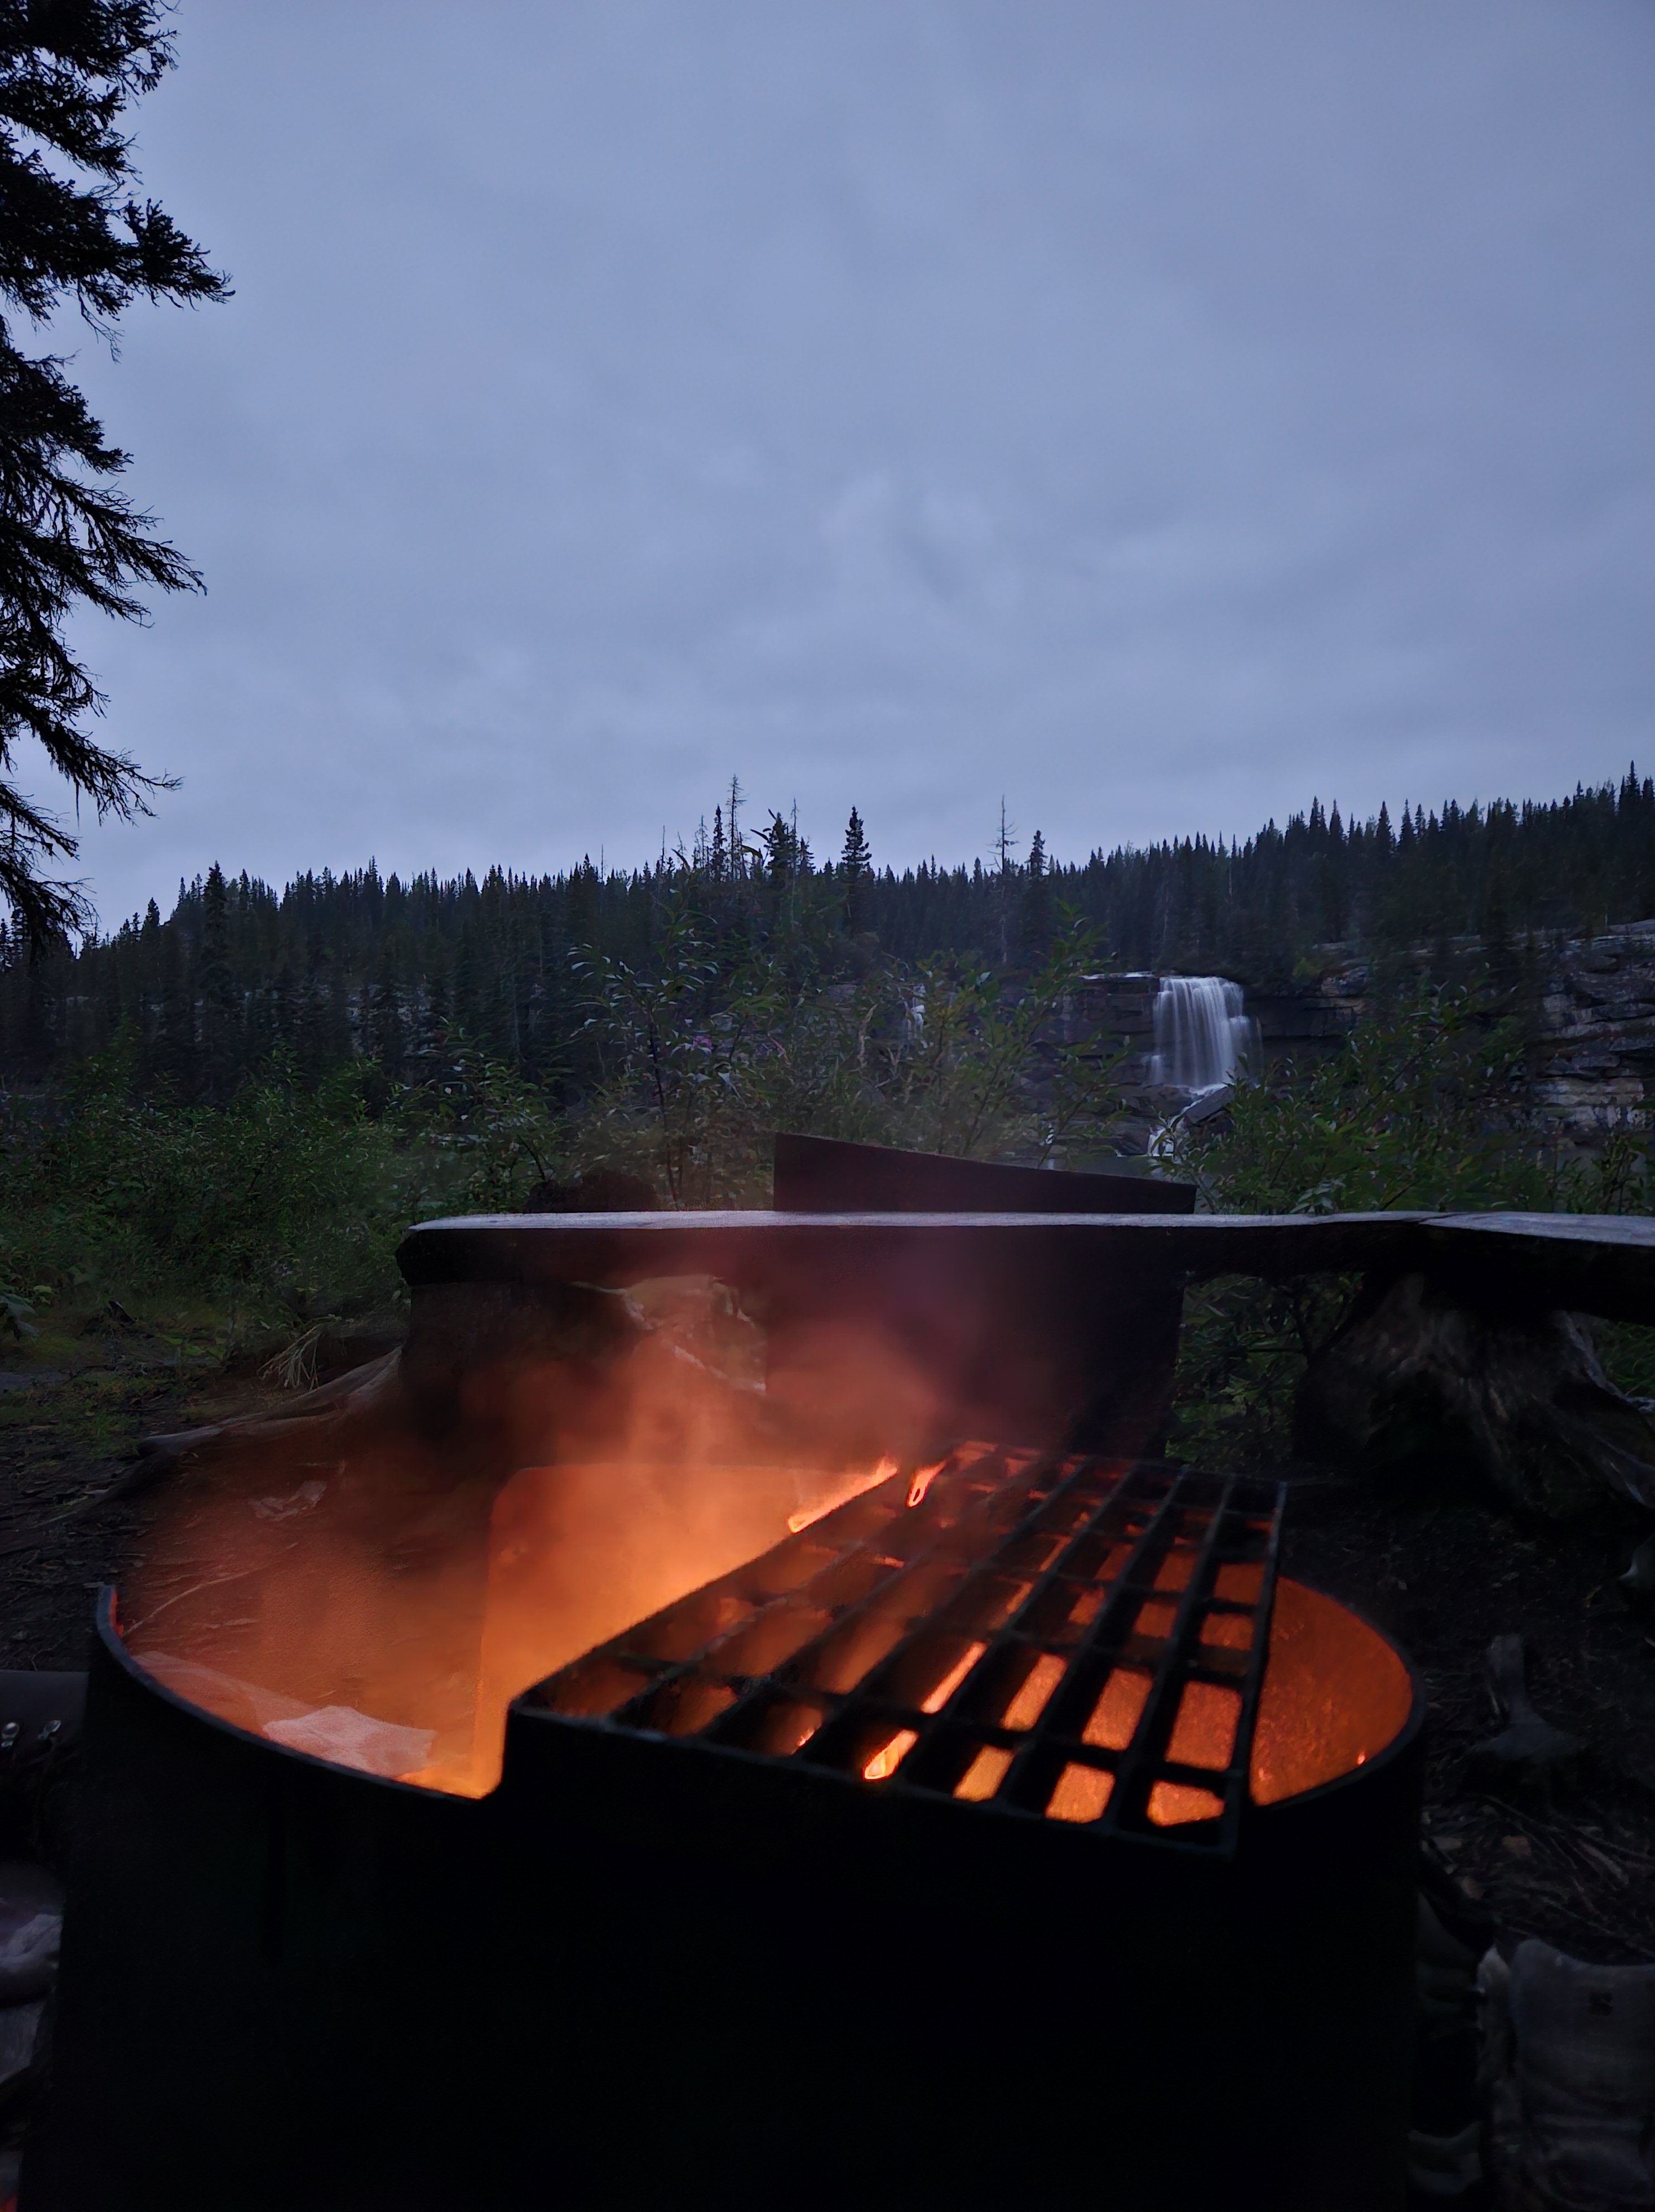
Cascades Camp was our stopping point for Day 1 after hiking approximately 21 kms with 343 m of elevation gain. The hike took us about 5.5 hours, including a few stops to check out campsites and enjoy some snack breaks. On the morning of Day 1, it was pouring rain before we began the hike, so we started off quite wet. The weather remained cloudy for most of the day, and when we arrived at Cascades Camp, we had no idea there was a stunning view waiting for us, as the fog obscured everything.
Day 2 breakdown:
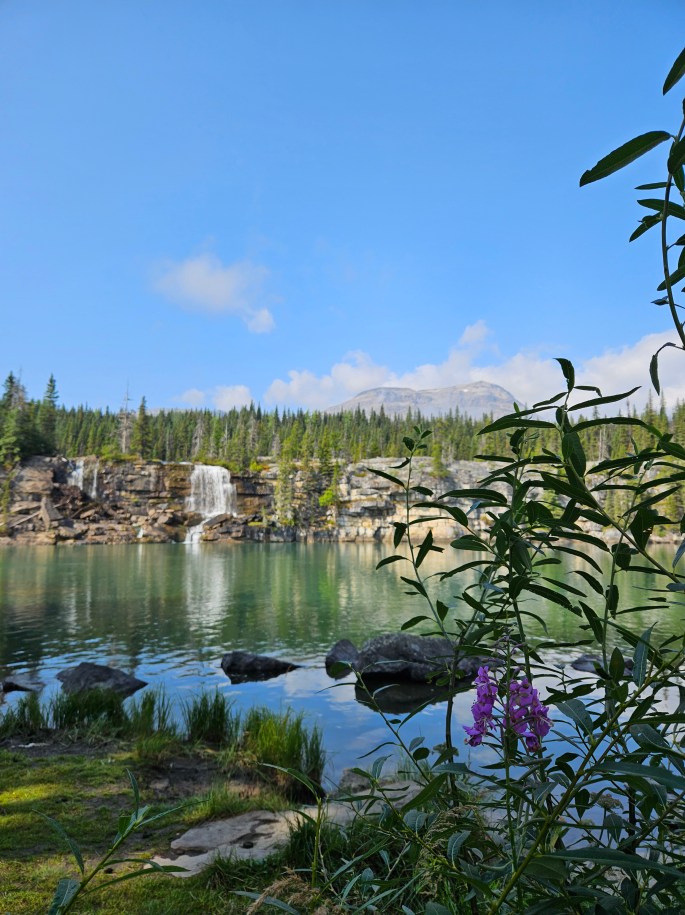
On Day 2, we woke up to cloudy, foggy conditions that lasted for about an hour. But the fog eventually lifted, and the sun came out, we were finally treated to the beautiful view hidden behind Shire Falls – the mountains had finally shown themselves! After a leisurely morning exploring the camp and the surrounding waterfalls, we set out on the 5.5 km hike to Monkman Lake (Day 2 stats: 11 kms, Elevation Gain: 250 m).
Note: We retraced our steps up the access trail to rejoin the main path on our way to Monkman Lake. Along the way, we passed the other access route at approximately 23.5 km that leads to Devil’s Creek Camp, where you can also visit McGinnis Falls and Chambers Falls. We didn’t have time to explore it this time, but I was told that Devil’s Creek is small and cozy, though it lacks the stunning backdrop of Shire Falls like Cascades Camp offers.
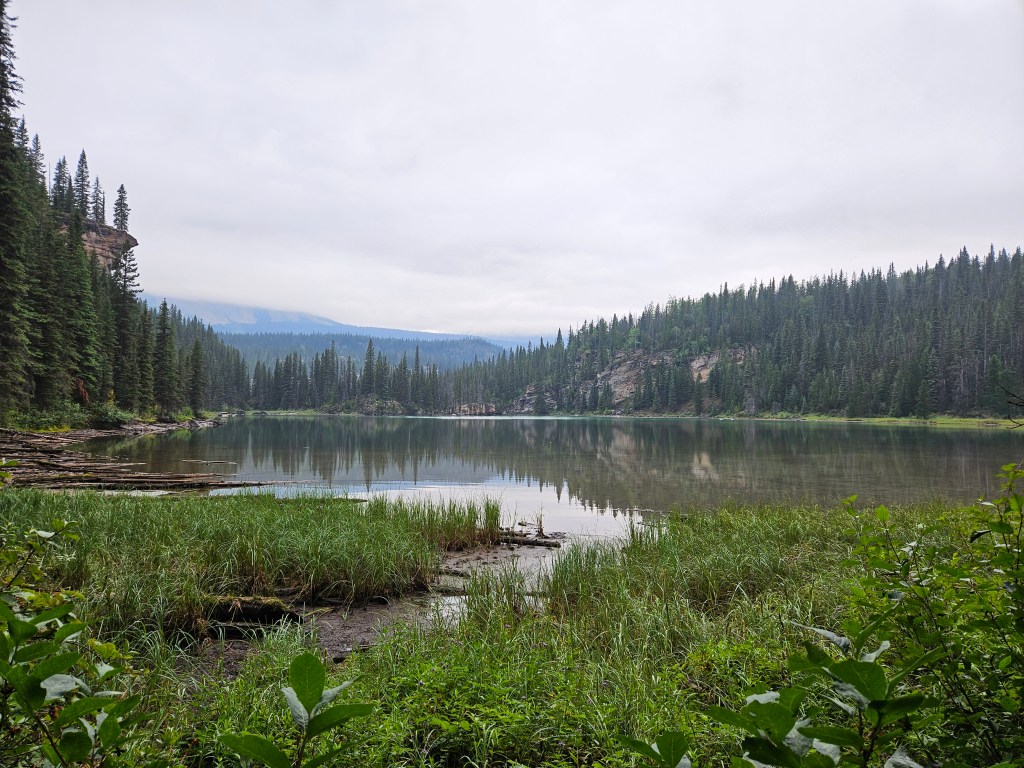
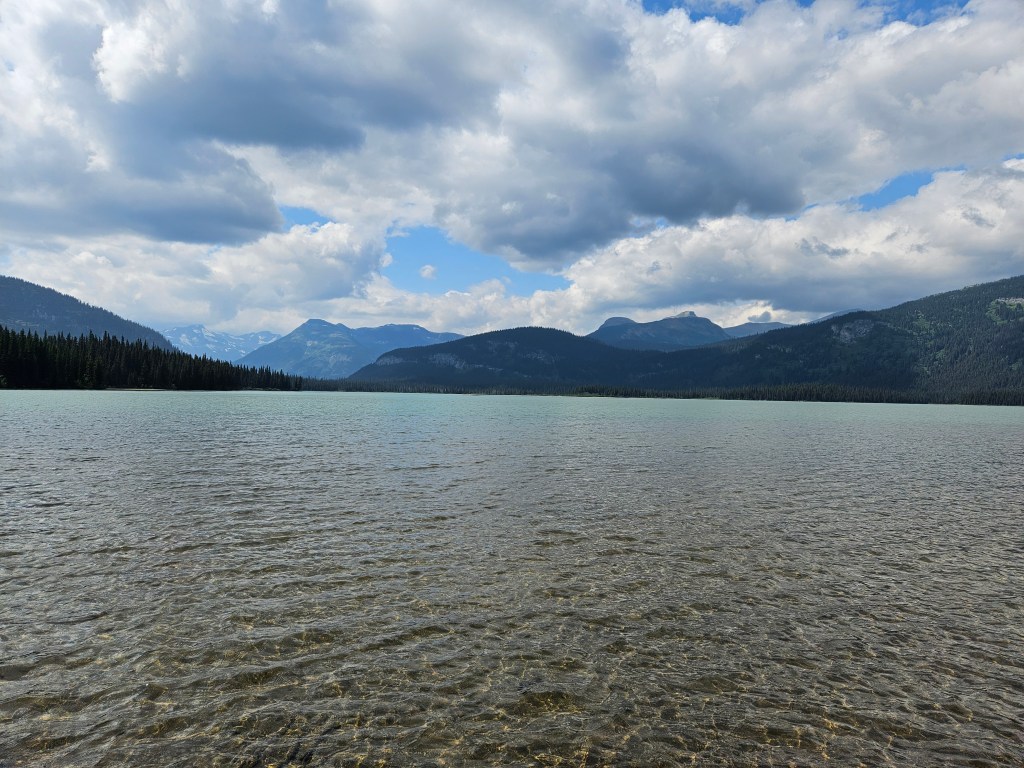
Monkman Lake Camp was spacious and spread out, offering the same amenities as the other camps. The lake itself was picturesque, and the retreating glaciers were visible, serving as a stark reminder of the changes happening to our glaciers.
We did not get a chance to continue on the trail beyond Monkman Lake during this trip, but the trail does extend further, becoming an unmaintained wilderness route that leads to Hugh Lake and beyond.
Day 3 Breakdown:
On Day 3, we left Cascades Camp and followed the recommended access route back to the main trail, which intersects at 22 km. From there, we continued along the out-and-back trail, taking a couple snack breaks along the way. The last 7 kms, which were mostly flat, felt like they dragged on, and we were eager to get back to the vehicle.

We had only encountered a handful of people during our 3-day adventure. At Trot Camp, we met a father and his two sons who were heading out from Hugh Lake. When we arrived at Cascades Camp, there was a pair already camping, but they left the next morning. A second group arrived on Day 2 to camp at Cascades Camp – they even brought inflatable boats to paddle around the beautiful pools, which was quite the feat and not their first time doing so. On our way out on Day 3, we ran into another pair that was heading in.
Safety
There is no cell service along the trail, and you’ll be in the backcountry, so be sure to inform someone of your trip plans. If you have access to one, bring a satellite communication device (e.g., InReach) for safety. Since it’s bear country, don’t forget to bring your preferred bear deterrents.
Notes/Recommendations
- While we completed this trip in 3 days, I recommend taking an extra day if you’d like to explore more of the cascades!
- If you had to choose between visiting Monkman Lake or exploring all the cascades, I’d suggest dedicating more time to the cascades and skipping the lake.
- Take the recommended access route to Cascades Camp, which branches off the main trail at 21.5 km, not 18.5 km – unless you’re feeling adventurous and want to visit Upper and Lower Moore Falls.
- Be sure to bring your rain gear and/or gaiters to stay dry, especially in the wetter sections of the trail or on damp days.
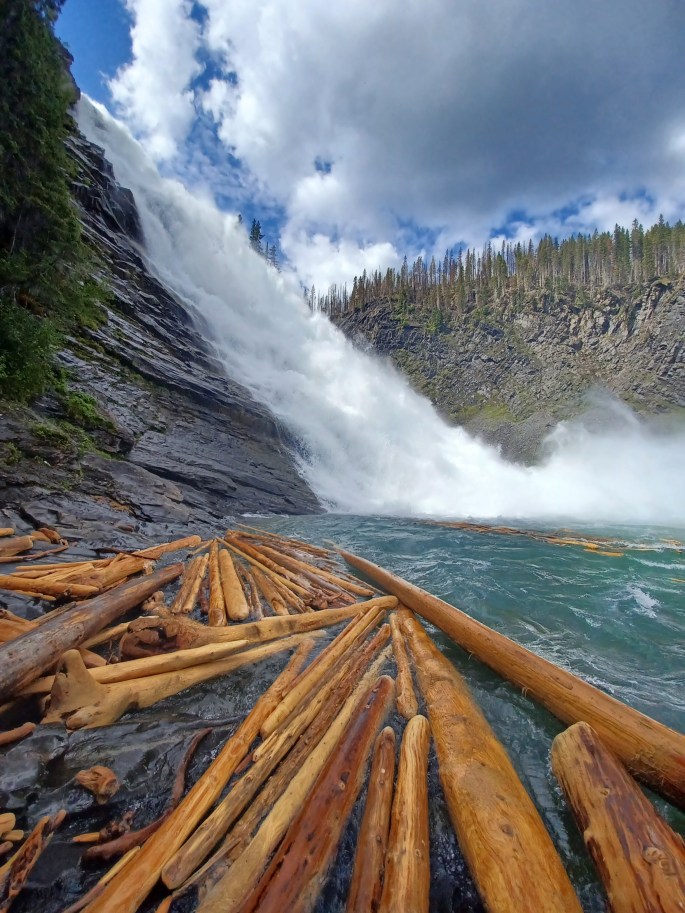
- Don’t miss Kinuseo Falls! The trail to the bottom of the waterfall is steep and unmaintained but it is definitely worth the effort.
- If you plan to go beyond Monkman Lake and tackle the wilderness route, make sure you have advanced wilderness navigation skills and equipment, as route finding will be necessary. Be prepared for inclement weather and wilderness camping.
- For more information, see here.
Shout out to Friends who are always up for an adventure!
Discover more from
Subscribe to get the latest posts sent to your email.
